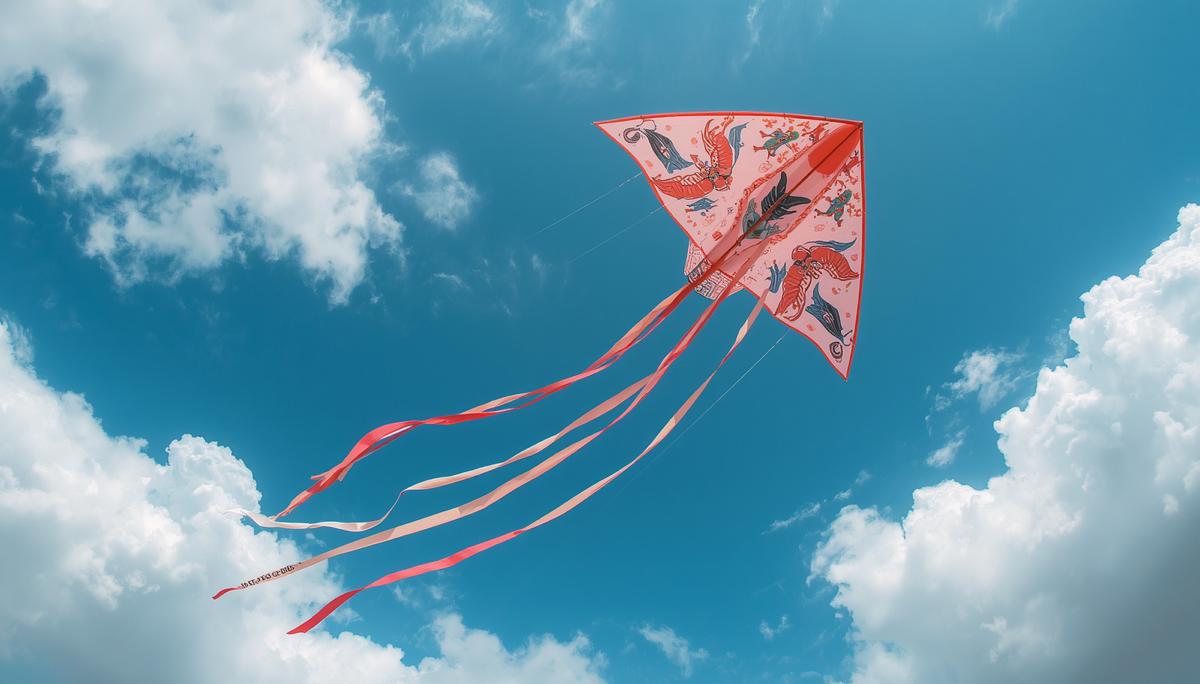
Making and flying a kite is one of the great pleasures of Chinese folk craft. A lightweight bamboo frame, a sheet of paper, a little paste, and a long line are all you need to send a painted bird or butterfly climbing into the wind. This guide will walk you through building a simple, traditional-style kite that can actually fly.
A brief history
Kites have been part of Chinese life for more than two thousand years. The earliest were wooden birds called mu yuan (木鸢), said to have been built by the philosopher Mozi and the craftsman Lu Ban during the Warring States period. By the Han dynasty, makers had switched to bamboo frames and paper or silk coverings, creating the lighter, more efficient zhi yuan (纸鸢) — paper kites.
The word "kite" in English comes from the bird, but the Chinese word fengzheng (风筝) tells a different story. It means "wind zither": early kites carried bamboo whistles or bowed strings that hummed in the air like a musical instrument. A kite was not only seen but heard.
Over time, kites became art. Weifang in Shandong emerged as China's kite capital, where the craft of "binding, pasting, painting, and flying" — zha, hu, hui, fang (扎、糊、绘、放) — was refined into a celebrated tradition. Today, kite making in Weifang, Tianjin, Beijing, and Nantong is protected as intangible cultural heritage.
What you need
For a simple diamond or hexagonal kite:
- Bamboo strips: two straight, thin pieces, about 3–4 mm wide and 2–3 mm thick. One should be roughly 60 cm long for the vertical spine; the other about 50 cm for the cross spar.
- Kite covering: traditional rice paper, lightweight silk, or modern Tyvek. You need a sheet roughly 70 cm tall and 55 cm wide.
- Adhesive: wheat-starch paste or white craft glue thinned with water.
- Flying line: braided kite line or strong cotton twine, 50–100 meters.
- Bridle line: thin, strong string, about 1.5 meters.
- Tools: scissors, craft knife, small saw or strong shears for bamboo, fine sandpaper, ruler, pencil, masking tape.
- Optional: paints or markers, a tail made from ribbon or paper strips.
Choose bamboo that is dry, straight, and flexible. The best strips bend evenly without snapping. If bamboo is hard to find, thin dowels or fiberglass rods can substitute, though they lack the traditional springiness.
Building the bamboo frame
-
Prepare the spine. Cut the longer bamboo strip to about 60 cm. Sand the ends smooth. This vertical piece runs from the kite's nose to its tail.
-
Prepare the cross spar. Cut the shorter strip to about 50 cm. Gently sand it. This piece runs horizontally across the kite, about one-third of the way down from the nose.
-
Mark the center. Find the exact center of the cross spar. Mark it. Then measure down from the nose of the spine and mark a point about 20 cm below the top. This is where the cross spar will cross the spine.
-
Tie the joints. Lay the cross spar across the spine at the marked point. Bind them together with strong thread, using a figure-eight pattern. Add a drop of glue and let it dry. The joint should be firm but light.
-
Add a bow (optional). For a diamond kite, many traditional designs gently bow the cross spar, so the kite has a shallow curve when viewed from the front. This improves stability. To bow it, tie a tight loop of string between the two tips of the cross spar, pulling them inward by a few centimeters.
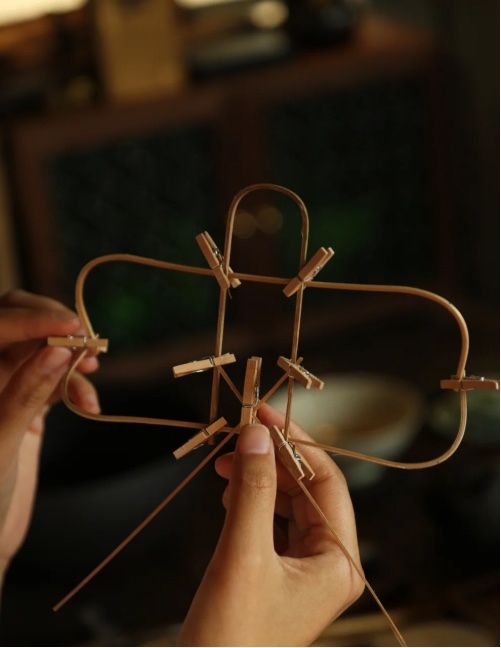
Covering the kite
-
Lay out the paper. Place your paper flat on a clean table. Set the bamboo frame on top, with the spine and cross spar facing down.
-
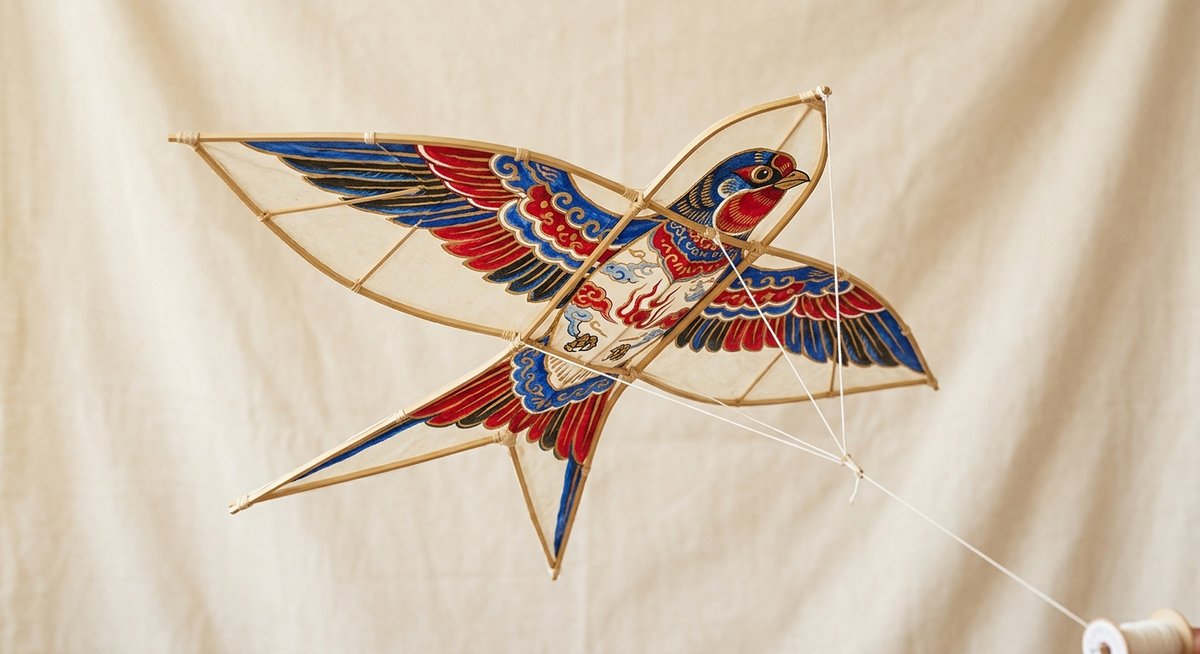
Trace the outline. Using a pencil, lightly trace the outer shape of the frame onto the paper. Traditional shapes include diamond, hexagonal, and swallow-tailed designs. For a first kite, a simple diamond or hexagon is easiest.
-
Cut with overlap. Cut the paper about 2 cm outside the traced line. You will fold this overlap around the frame.
-
Paste and fold. Apply a thin line of paste along the bamboo strips. Press the paper onto the frame. Fold the extra paper over the edges of the bamboo and paste it down. Keep the paper smooth but not drum-tight — it needs a little give to avoid tearing in gusts.
-
Trim and reinforce. Once the paste is dry, trim any ragged edges. Reinforce the nose and the four corners with small squares of paper pasted on both sides.
Painting and decorating
This is where the kite becomes art. Traditional Chinese kite painters favor bright, flat colors and bold outlines. Common subjects include butterflies, swallows, goldfish, dragons, and the twelve animals of the zodiac.
Paint on the covered surface with water-based paints or markers. Keep the paint layer thin; heavy paint adds weight and can prevent flight. Let everything dry completely before flying.
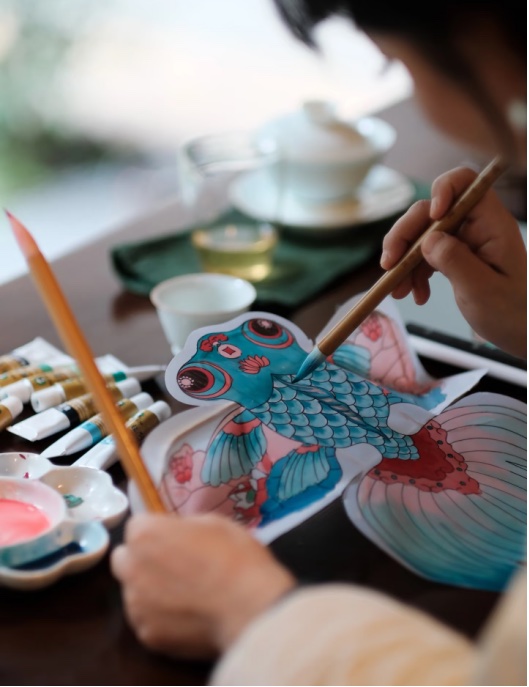
If you want a tail, attach a long strip of crepe paper or ribbon to the bottom of the spine. A tail adds stability and looks beautiful streaming behind the kite.
Bridle and flying line
The bridle is what connects your kite to the flying line. A poor bridle makes a good kite crash.
-
Attach bridle points. Tie one end of the bridle string to the spine near the nose, about 5 cm below the top. Tie the other end to the spine near the bottom, about 10 cm above the tail.
-
Find the balance. Hold the kite by the bridle string at the point where it hangs level, nose slightly up. Mark that point; this is where you will tie the flying line.
-
Tie the flying line. Attach your main flying line to the marked bridle point with a secure knot, such as a lark's head or bowline.
-
Adjust for wind. If the kite dives nose-first, move the bridle attachment point slightly toward the nose. If it stalls and falls backward, move it toward the tail.
Launching your kite
-
Find open ground. Choose a park or field away from trees, power lines, buildings, and roads.
-
Check the wind. Hold a ribbon or grass blade at shoulder height. A steady lift, not a wild flapping, means good kite weather.
-
Launch with a helper. Have a friend hold the kite 10–15 meters downwind from you. When the wind is steady, signal them to release the kite as you pull in a little line. The kite should climb.
-
Let out line gradually. Once the kite is stable, slowly release more line. If the kite begins to dive, pull in a short length to regain control.
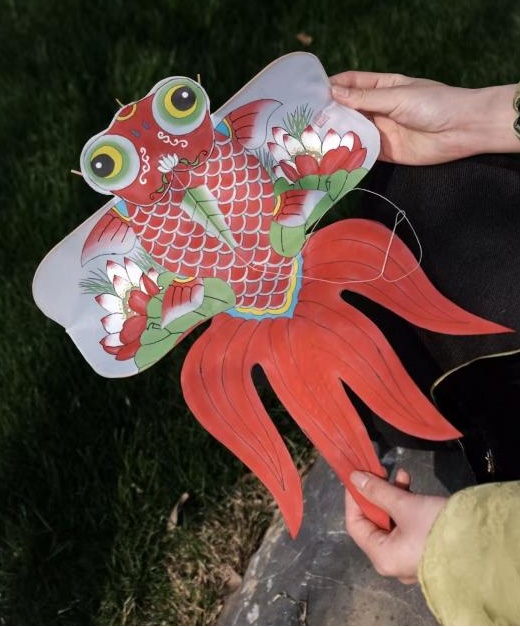
Safety tips
- Never fly near power lines.
- Avoid flying in thunderstorms or very strong winds.
- Keep clear of airports and busy roads.
- Wear gloves if the line is thin; a fast-moving line can cut skin.
- Supervise children closely.
Frequently asked questions
What materials are used for traditional Chinese kites?
The classic materials are bamboo for the frame, rice paper or silk for the covering, and cotton or nylon line for flying. Modern hobbyists often use Tyvek or lightweight plastic for durability.
Where did Chinese kites originate?
Kite making in China dates back at least two thousand years. Early kites were made of wood and called mu yuan; by the Han dynasty, bamboo frames and paper coverings had appeared. Weifang in Shandong is now China's most famous kite city.
What is the bridle on a kite?
The bridle is the set of strings that connect the kite frame to the flying line. Its length and attachment points control the kite's angle to the wind and how steadily it flies.
Can a beginner really make a flying kite?
Yes. A simple diamond or hexagonal kite is an excellent first project. The key is a light, symmetrical frame and a bridle that lets the kite tilt slightly into the wind.
When is the best weather for kite flying?
A steady breeze of 8–24 kilometers per hour is ideal. Avoid gusty or stormy weather, and never fly near power lines, airports, or crowded roads.
Author
This article was prepared by the team at ChineseFolkCrafts.com. We are not intangible-cultural-heritage inheritors or museum researchers. Our job is to find authoritative Chinese sources, understand them, and explain them clearly for international readers.
If you spot an error — a date, a translation, a misattributed custom — please let us know and we will correct it. Last updated 2026-08-03.