A red paper lantern is one of the easiest Chinese crafts to make at home. With just paper, scissors, and glue, you can create a decoration that works for Spring Festival, the Lantern Festival, or any celebration — and in making it, you repeat the same fold-and-paste logic that professional lantern makers in China have used for centuries.
This guide walks you through the classic beginner's lantern step by step, explains where the design comes from, and shows you how to decorate and adapt it once you have mastered the basic shape.
The lantern you are making
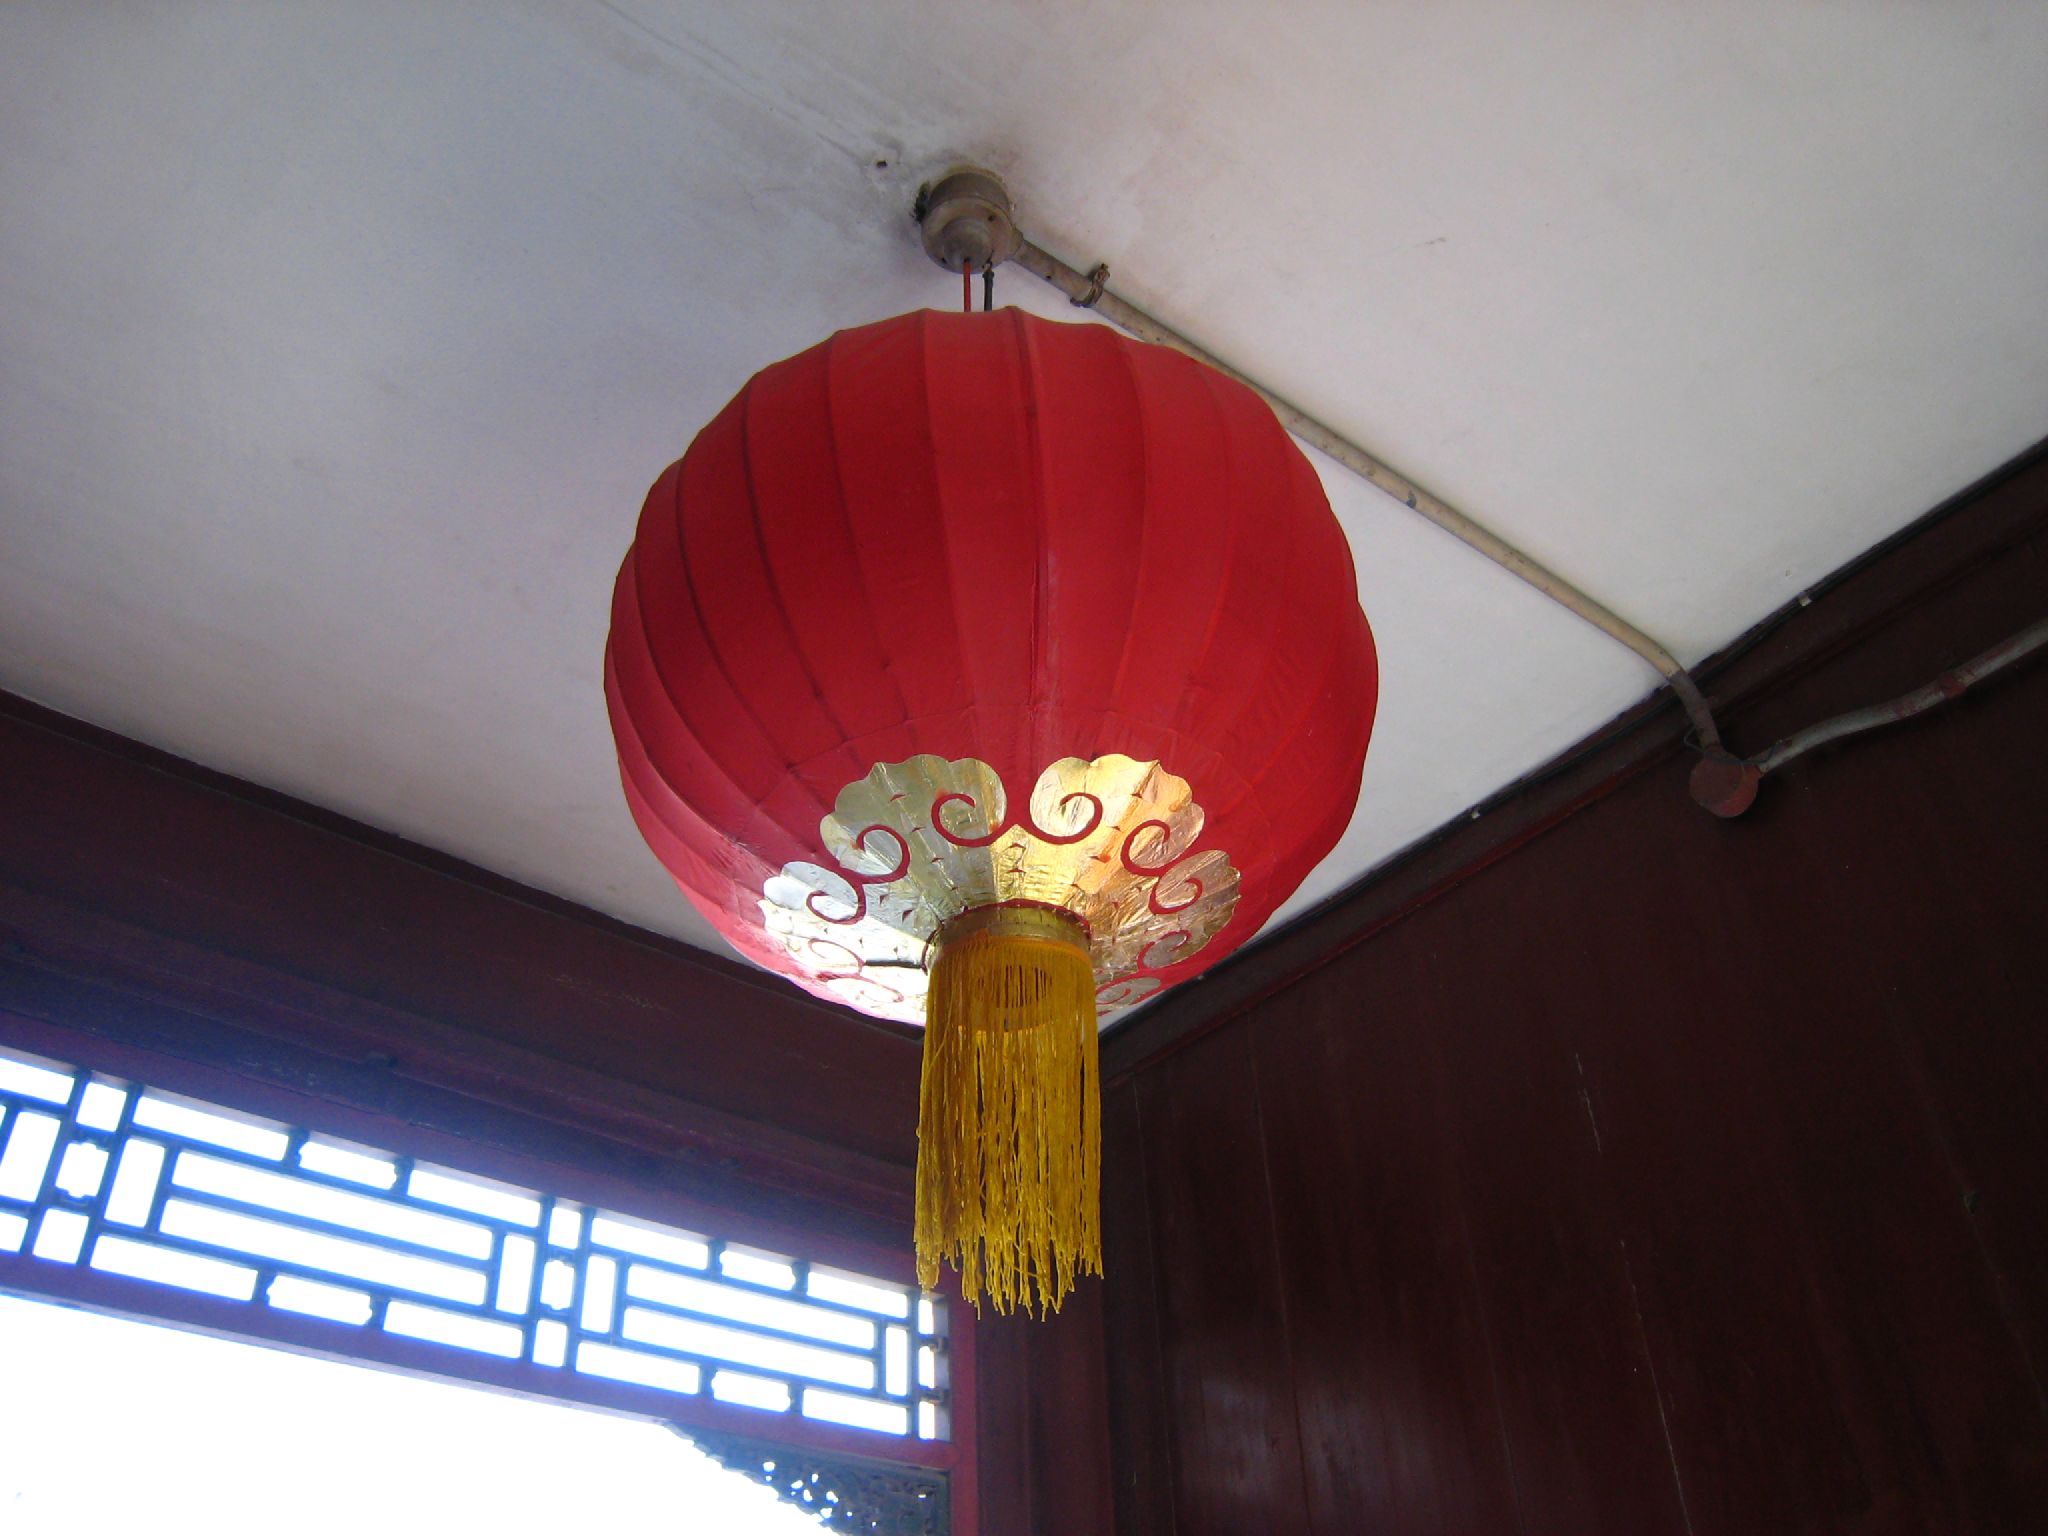
The simple cut-and-roll lantern taught in classrooms around the world is a descendant of the cylindrical gauze and paper lanterns that have hung outside Chinese doorways since at least the Han dynasty. A traditional lantern is a frame covered with a light-permeable skin; in our paper version, the slitted sheet of red paper plays both roles at once. The slits let the walls flex outward into a plump, rounded body — the same plumpness you see on round palace lanterns in Luoyang or doorway lanterns in Beijing.
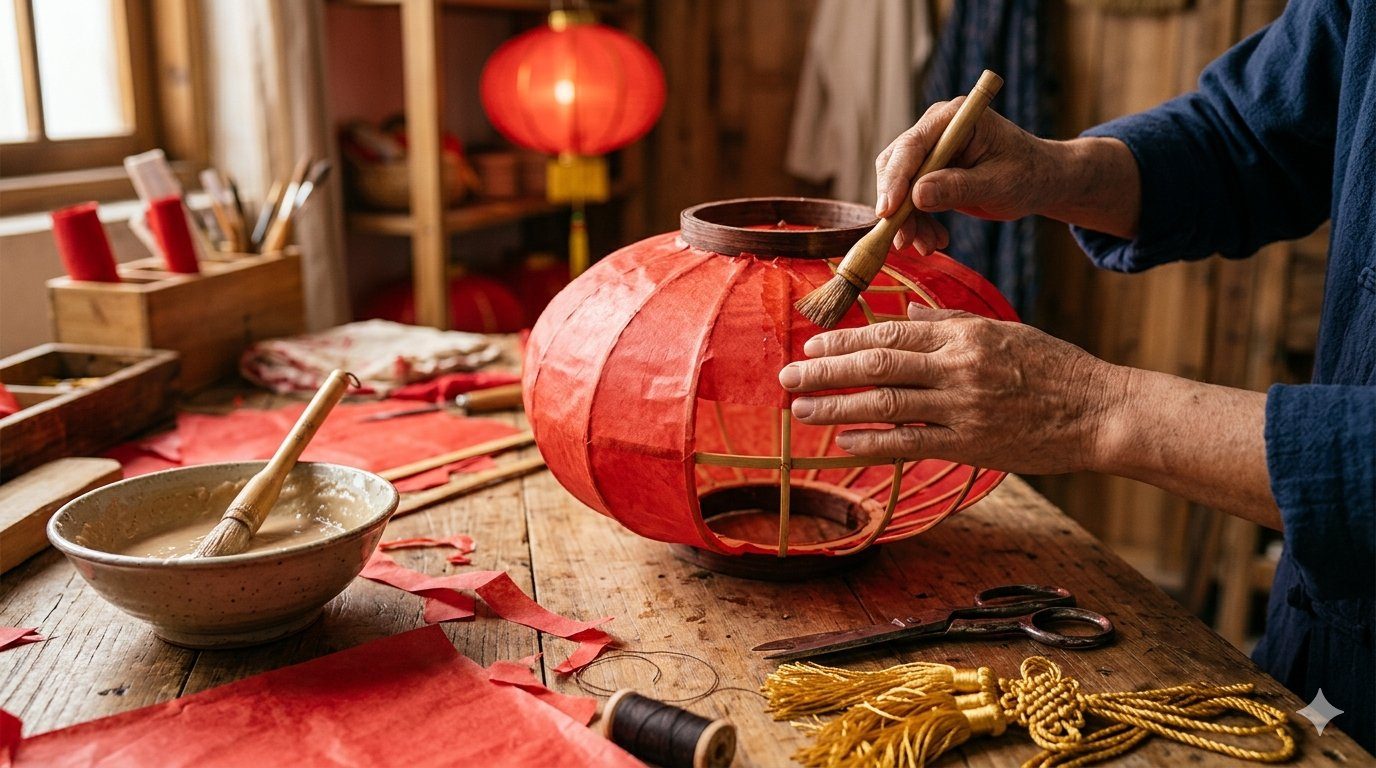
Professional lantern craft goes far beyond paper, of course. In Nanjing, the heritage masters of the Qinhuai lantern tradition still build the classic lotus lantern by hand, and their process shows what our simple version is imitating. First they tie the frame — the "bones and sinews" of the lantern — from bamboo splints or, today, iron wire bent into rings and half-rings. Then they paste the base layer of paper over the frame. For the petals, hundreds of squares of white copy paper are dipped together into vats of dye, dried in the shade (never in harsh sun, which fades the color), pressed in molds to raise the veins of each petal, curled, and glued onto the frame row by row. A small lotus lantern uses about thirty petals; a large one needs fifty-six petals arranged in seven layers, plus six flower heads and a seedpod at the base. A master like Cao Zhenrong, whose family has tied lanterns for three generations, spends nearly the whole year preparing for a single festival season.
Your paper lantern will take fifteen minutes instead of fifteen days, but the principle is identical: structure first, then skin, then decoration.
Materials
- One sheet of red A4 paper (about 80–120 gsm; standard printer paper works)
- Scissors
- Glue stick or clear tape
- A strip of red paper for the handle
- A ruler and pencil
Red is traditional because it symbolizes joy, luck, and protection in Chinese culture — the color of celebration itself. If you want to experiment, gold and deep pink also look festive, and a patterned paper gives the lantern a brocade feel. Avoid very thick cardstock for your first attempt: it is harder to roll, and the slits resist opening.
Folding the body
- Fold the red paper in half lengthwise, pressing the crease firmly with your thumbnail or the back of a spoon. A sharp crease makes a cleaner lantern.
- With your pencil and ruler, mark a line about 2 centimeters in from the open (unfolded) long edge. This is your stop line.
- Starting from the folded edge, cut evenly spaced slits up to the stop line. Aim for slits about 1 centimeter apart — even spacing matters more than exact measurement, because the slits control how the lantern bulges. The paper stays connected along the uncut margin.
- Unfold the paper. You should see a row of parallel slits down the center, with solid margins on both long sides.
- Roll the paper into a tube so that the two short ends meet, with the slits running horizontally around the tube. Join the short ends with glue or tape. The slitted section will bulge outward between the two solid margins, creating the round lantern body.
- Gently press the top and bottom rims toward each other to fatten the shape. This is the moment the flat sheet becomes a lantern.
If the body looks lopsided, the slits were probably uneven. No harm done — flatten the tube, even out a few cuts, and roll again.
Adding the handle
- Cut a strip of red paper about 2 centimeters wide and 15 centimeters long.
- Glue or tape the ends of the strip to the inside of the top rim, on opposite sides of the opening.
- Let the glue set for a minute before lifting the lantern by its handle.
Traditionally, small lanterns like this were carried or hung; a handle lets you do both. If you plan to hang the lantern, you can skip the handle and instead thread a loop of red string through two small holes punched in the top rim.
Decorating your lantern
A plain red lantern is already auspicious, but decoration turns it into a personal wish. Some ideas drawn from real lantern customs:
- Write a character. Use a black or gold marker to write 福 (fu, blessing) on the body. In many Chinese homes the character is displayed upside down, because "upside down" (dao, 倒) sounds like "arrive" (dao, 到): blessing has arrived.
- Add a tassel. Cut a rectangle of red or gold paper, fringe one long edge, roll it around a length of string, and glue the roll closed. Hang it from the bottom rim. Almost every traditional Chinese lantern wears a tassel.
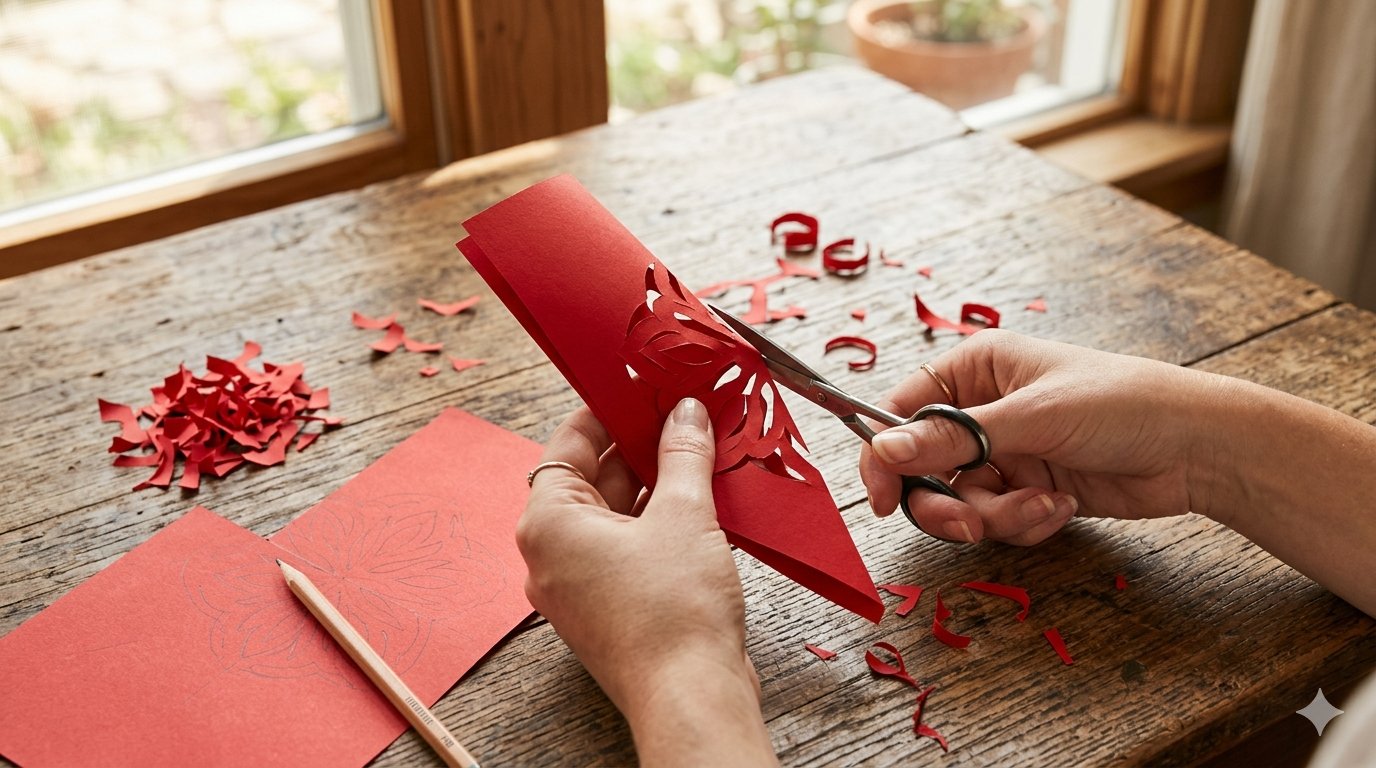
- Cut a paper pattern. Tiny paper-cut motifs — a fish for abundance, a flower for spring — can be glued onto the solid bands at the top and bottom. Paper cutting and lantern making are sister crafts: heritage Suzhou lanterns are decorated with local color-layered paper cuts, and Beijing lantern makers list paper cutting among their core techniques.
- Trim the edges. A strip of gold washi tape or yellow paper along the top and bottom rims imitates the brocade borders of palace lanterns.
Variations to try
Once the basic shape works, the same technique scales in several directions:
- The tall lantern. Cut slits closer together (about 5 millimeters) and leave wider margins. The result is a slimmer, more elegant cylinder closer to a restaurant doorway lantern.
- Red-envelope lanterns. Lunar New Year red envelopes (hongbao) are made of exactly the right paper. Slit and roll one envelope for a miniature lantern, or make twelve and string them together as a festival garland — a popular classroom and New Year project.
- Double lanterns. Make a small lantern from a half-sheet, slip it inside a larger one before gluing the outer tube, and the two layers glow with real depth when lit.
- A whole string. Traditional festival displays never show one lantern alone. Six or eight lanterns hung at different heights along a cord instantly recreate the feeling of a Lantern Festival street.
Safety tips
This lantern is made of paper, so never place a real flame inside it. Use a battery-powered LED tea light if you want it to glow — modern LEDs flicker convincingly and stay cool. Even with LEDs, avoid leaving a lit lantern unattended for long periods, and keep it away from curtains and bookshelves. Real festival lanterns in China switched to electric light for exactly this reason.
Taking it further
Hang your lantern near a window or doorway, and it will bring a small piece of Chinese festival tradition into your home. If the craft catches your interest, the history of Chinese lanterns explains how this simple object became one of China's great decorative arts, from Han dynasty ritual lamps to the giant illuminated displays of Zigong. And if you enjoy working in red paper, the natural next craft is Chinese paper cutting, which shares the lantern's materials, symbols, and festival calendar.
Frequently asked questions
What paper is best for a paper lantern?
Plain red printer paper (80 gsm) is ideal for a first lantern because it folds and rolls easily. Origami paper gives crisper creases; wrapping paper makes large lanterns but tears more easily. Avoid heavy cardstock until you are comfortable with the technique.
Can I put a real candle inside a paper lantern?
No. Paper lanterns must never hold an open flame — the candle will ignite the paper within seconds. Use a battery-powered LED tea light instead. Even professional festival lanterns in China now use electric light for safety.
How do I make the lantern perfectly round?
Two things control the roundness: even slit spacing and symmetrical pressure. Mark your slit lines with a ruler before cutting, keep the spacing consistent, and when you press the top and bottom rims together, turn the lantern slowly so the bulge forms evenly on all sides.
Is this craft suitable for young children?
Yes, with adult help at two points: cutting the slits (children under about seven should have an adult do the cutting or use safety scissors with close supervision) and handling glue. Marking lines, folding, rolling, and decorating are all child-friendly, which is why this lantern is a classic Lunar New Year classroom project.
How long does it take to make one?
About fifteen to twenty minutes for your first lantern, including decorating. Once you have made two or three, you can finish one in under ten minutes — fast enough to produce a whole string of lanterns in an afternoon.
Author
This article was prepared by the team at ChineseFolkCrafts.com. We are not intangible-cultural-heritage inheritors or museum researchers. Our job is to find authoritative Chinese sources, understand them, and explain them clearly for international readers.
If you spot an error — a date, a translation, a misattributed custom — please let us know and we will correct it. Last updated 2026-07-10.