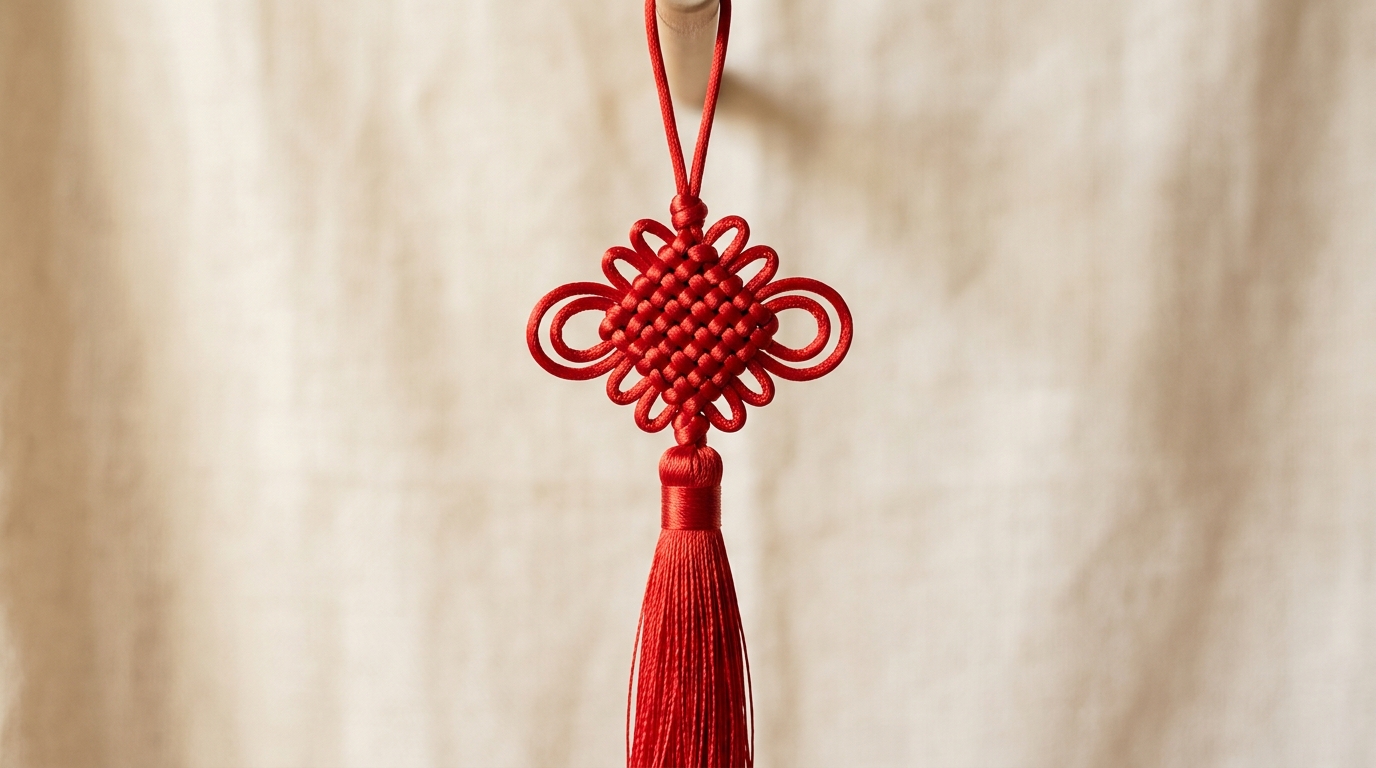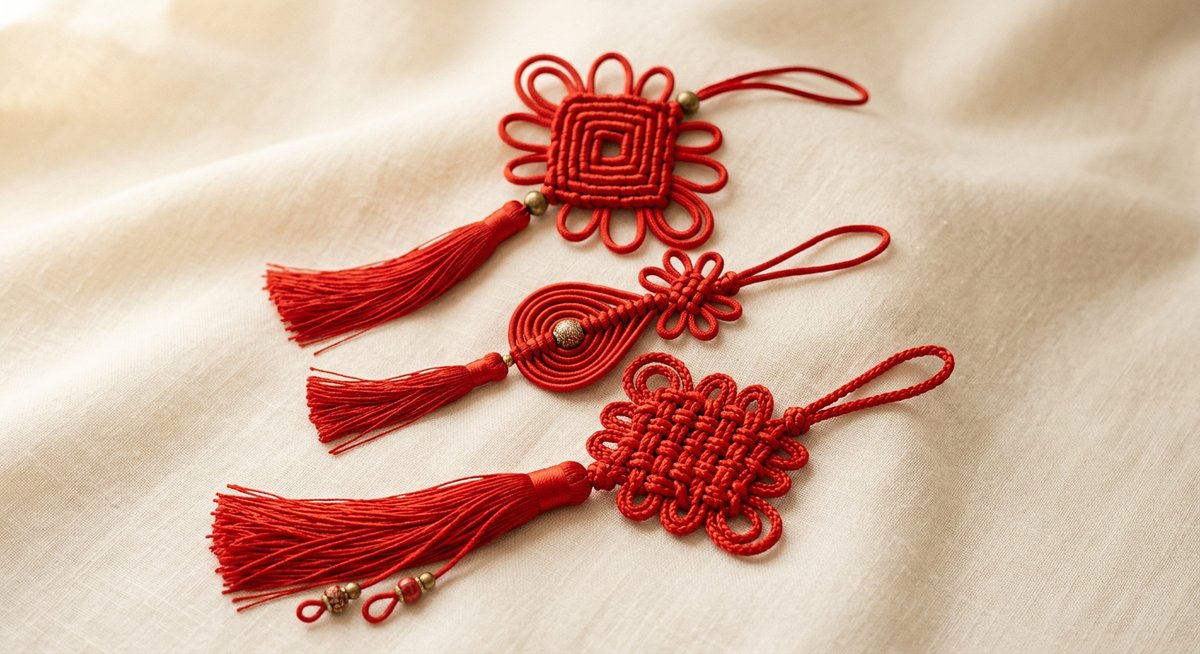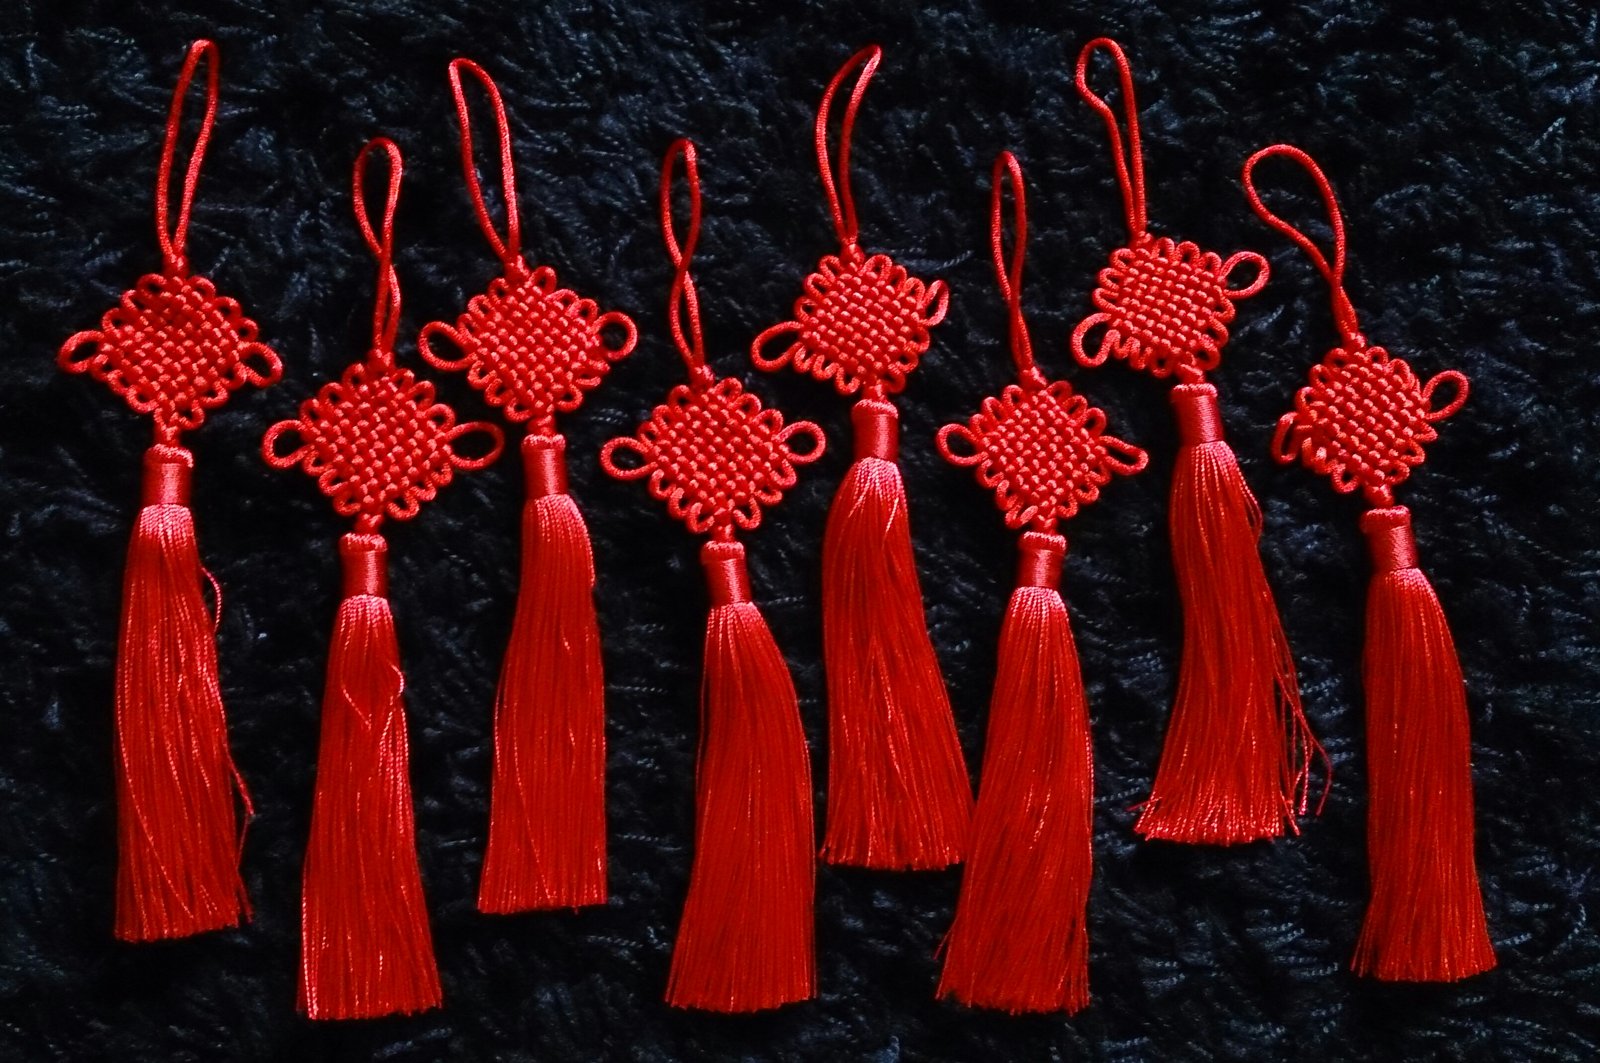
The Chinese good luck knot is the square, interlaced knot most people picture when they hear “Chinese knot.” In Chinese it is called the pan chang jie (盘长结). In English you may also see it called the endless knot, the infinity knot, or the mystic knot — all names for the same knot. Its line never breaks, so it symbolizes long life, continuity, and an unbroken bond.
This tutorial teaches the two-return pan chang, the smallest complete form. It looks intricate, but the structure is a simple woven grid. Once you learn the pattern, you can tie larger versions with more returns and add beads or tassels to make ornaments.
What is the endless knot
The pan chang knot is one of the oldest and most respected knots in Chinese folk art. Its closed, self-returning path stands for infinite wisdom and the endless cycle of life. In Buddhism it is one of the Eight Auspicious Symbols. In folk custom it once hung on newlyweds' bedcurtain hooks to wish the couple an unbroken bond.
Despite its complex look, the knot is woven from a single cord. You pin the cord on a board in a grid, then pull the ears and ends to close the weave into a flat square. The challenge is not the pattern — it is keeping the tension even while you dress the knot.
What you need
- Satin rat-tail cord, also called Chinese knotting cord, 2 to 2.5 millimeters thick
- A pinning board: foam board, cork tile, or thick cardboard
- 8 to 12 ball-head sewing pins
- Scissors
- Clear nail polish or craft glue, to seal the cut ends
For a palm-sized two-return pan chang, allow 1.5 to 2 meters of cord. Extra length makes learning easier.
Red is the traditional color for blessings and joy; gold emphasizes wealth. Satin cord is the modern standard because it slides against itself smoothly when you tighten and adjust.
Step-by-step instructions
Set the board in front of you and find the center of the cord. The two halves are called L (left) and R (right).
-
Pin the center. Pin the center of the cord near the top center of the board. L and R hang down on either side.
-
Make the horizontal lines with L. Run L to the right as line 1 and pin it at the right edge, leaving a finger-width loop or “ear” outside the pin. Wrap around the pin and run L back to the left as line 2, one cord-width below line 1, pinning at the left edge with another ear.
-
Repeat for lines 3 and 4. Run L to the right as line 3 and pin with an ear; run it back to the left as line 4 and let the end hang free at the lower left. You now have four parallel horizontal lines with ears on both sides.
-
Begin the vertical lines with R. Bring R to the top and lead it down through the horizontals, weaving under line 1, over line 2, under line 3, over line 4. Pin at the bottom edge with an ear.
-
Weave R back up. Bring R back up one cord-width to the left, weaving the opposite way: under line 4, over line 3, under line 2, over line 1. Pin at the top with an ear.
-
Repeat the vertical pair. Lead R down like the first vertical, then back up like the second. Let the end hang free at the top.
-
Check the grid. You should see four verticals crossing four horizontals in a perfect checkerboard: along any line the cord alternates over, under, over, under, and neighboring crossings are opposite. Ears stick out on all four sides.
-
Close the knot. Take hold of all ears and both ends and pull gently and evenly outward, as if stretching the knot toward four corners. Remove pins gradually as the grid closes into a compact interlaced square.
Video: Step-by-step demonstration of tying the pan chang / good luck knot, via YouTube.
Dressing the knot
Heritage knot artists say the real skill is not the tying but the adjusting. Zhangjiakou craftsman Li Jiayu describes knotting as “three parts tying, seven parts adjusting” (san fen bian, qi fen tiao, 三分编七分调). When the structure is woven, it is still loose and shapeless. What decides the final form is the slow drawing-through of slack.
To dress the pan chang knot:
- Choose one end and follow its path into the knot.
- Find the first place with slack and pull a small loop through to the next section.
- Walk the slack forward, section by section, until it exits at the other end or into an ear.
- Repeat from the other end.
- Finish by holding the knot flat and giving all sides an even pull.
Expect dressing to take as long as the tying itself. Rushing this stage is the most common reason a finished knot looks lumpy or uneven.
Common mistakes
The weave is wrong. If neighboring crossings are not opposite — for example, two “overs” sit side by side — the knot will not lie flat. Unpin and re-weave that section.
The knot twists. This usually means one side was pulled harder than the others during closing. Lay the knot flat and tug each ear gently until the square is even.
Ears are different sizes. As you dress the knot, feed slack into the smaller ears and pull it out of the larger ones until all four ears match.
The center bulges. The center should be a small, flat square. If it puffs up, there is hidden slack in the inner crossings. Work the slack out through the ears.
Project ideas
- Wall hanging: tie a large pan chang in thick red cord, crown it with a bead, and hang a long tassel below.
- Keychain or bag charm: make a small pan chang and thread it onto a cord loop.
- Compound ornament: set a double coin knot below a pan chang to mean “wealth without end.”
- Gift wrapping: attach a small pan chang to a red envelope or gift box for Lunar New Year.
For anything that will often be handled, touch a pinpoint of craft glue to the back of the central crossings and seal cut ends with clear nail polish.
For a faster first project, start with the double coin knot in our basic Chinese knots tutorial. Then learn the meanings behind the most popular shapes in our guide to 5 common Chinese knots, or choose a color with purpose using our Chinese knot color meanings guide.
FAQ
Is the pan chang knot the same as the good luck knot? In English craft kits, usually yes — the pan chang is often called the good luck knot, endless knot, or mystic knot. Inside the Chinese system there is also a separate ji xiang jie, literally “auspicious knot,” which is an open four-eared cross-knot. This tutorial teaches the pan chang, the closed interlaced square.
Is the endless knot the same as the pan chang knot? Yes. Pan chang (盘长) is the Chinese name; endless knot, infinity knot, and mystic knot are all English names for the same closed, interlaced square knot. The English names come from its unbroken, self-returning line. In Buddhism the knot is one of the Eight Auspicious Symbols, where it stands for infinite wisdom and the endless cycle of life.
Is the good luck knot hard to learn? The pattern looks complex, but it follows a regular grid. Most beginners can tie a recognizable two-return pan chang in one or two sittings. The real learning curve is dressing the knot evenly.
What cord should I use? Satin rat-tail cord, also sold as Chinese knotting cord, in 2 to 2.5 millimeter thickness. Red is traditional; gold emphasizes wealth.
Do I need a pinning board? Yes, at least while learning. The board holds the grid in place so you can check the weave before closing the knot.
How much cord do I need? A palm-sized two-return pan chang requires 1.5 to 2 meters. Extra cord makes the early stages easier.
What does the good luck knot symbolize? Its unbroken line represents long life, continuity, and an unbroken bond. It is a common wedding, New Year, and housewarming gift.
Author
This article was prepared by the team at ChineseFolkCrafts.com. We are not intangible-cultural-heritage inheritors or museum researchers. Our job is to find authoritative Chinese sources, understand them, and explain them clearly for international readers.
If you spot an error — a date, a translation, a misattributed custom — please let us know and we will correct it. Last updated 2026-08-21.