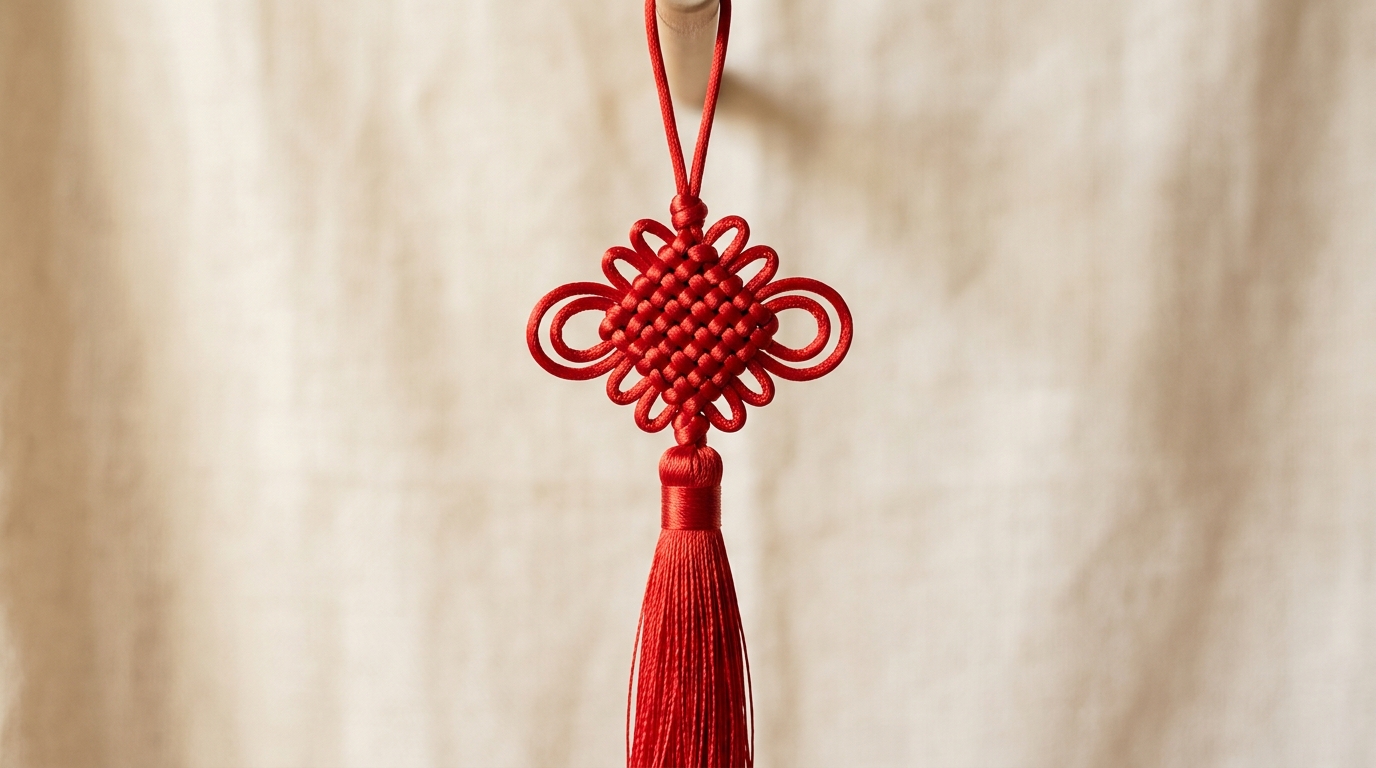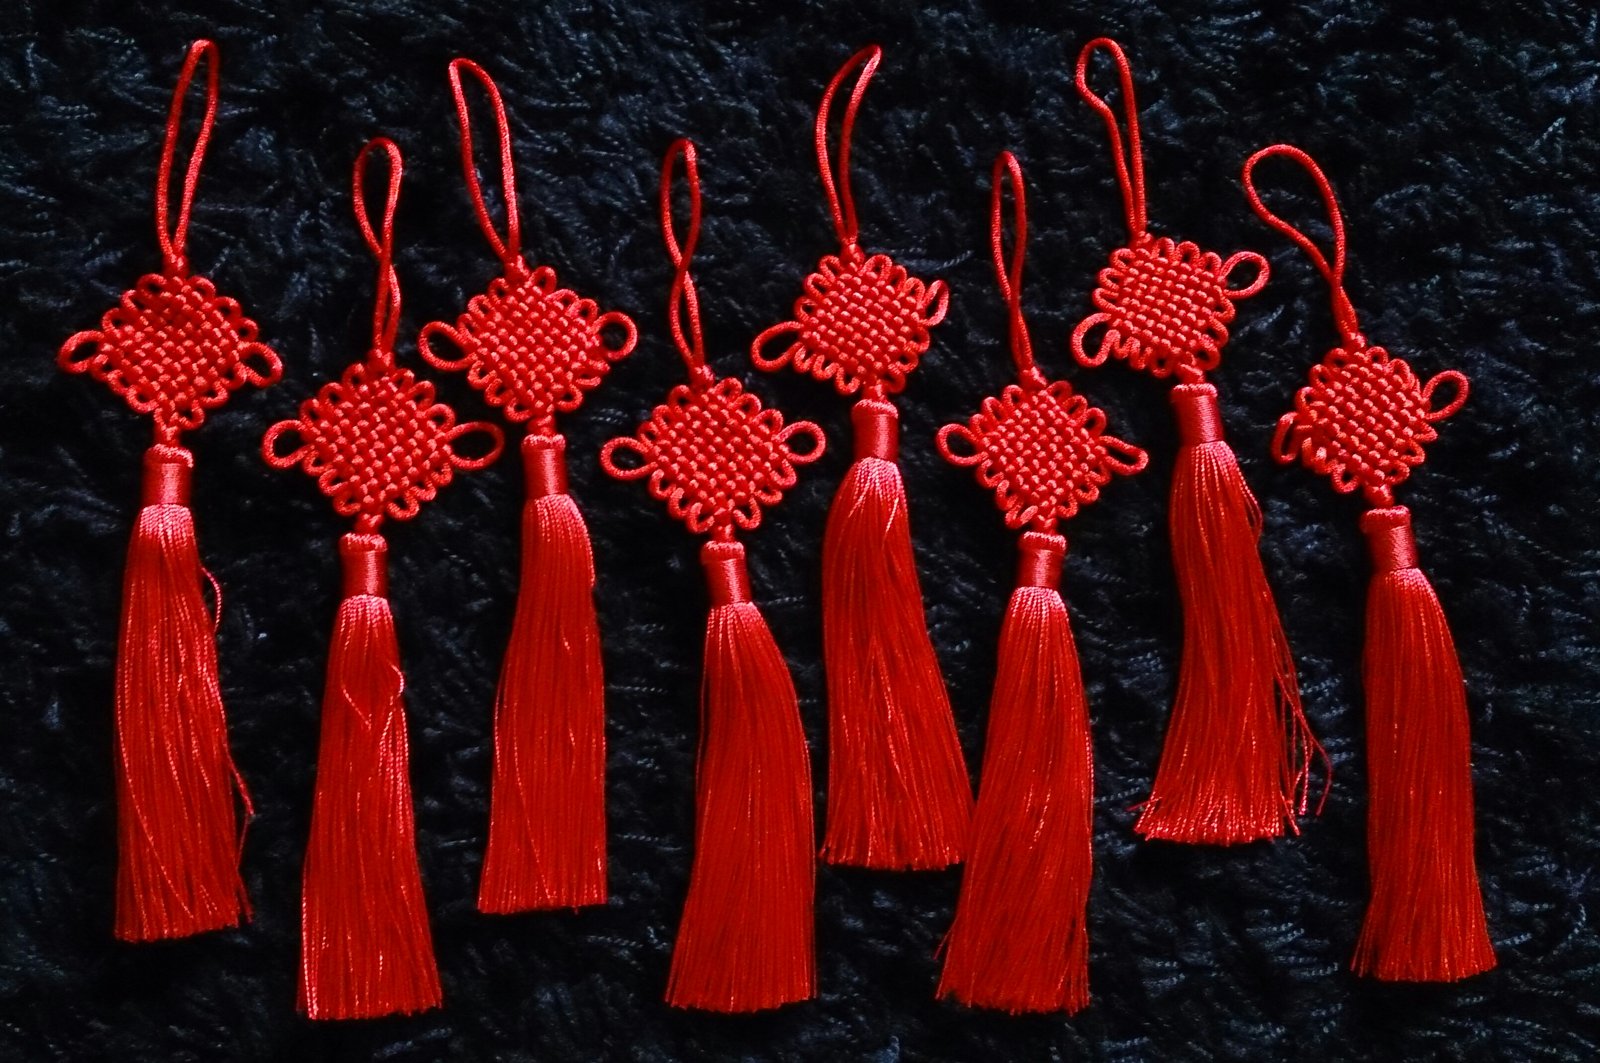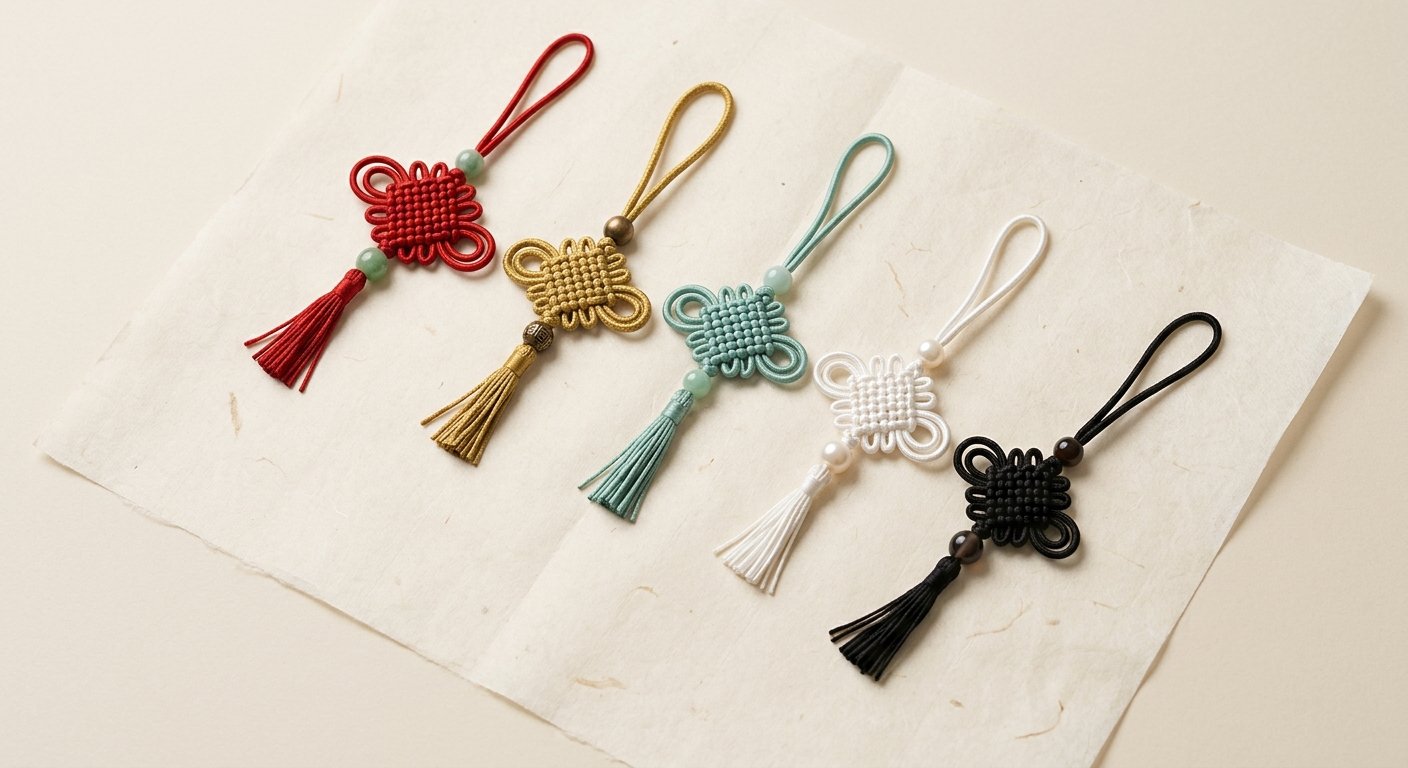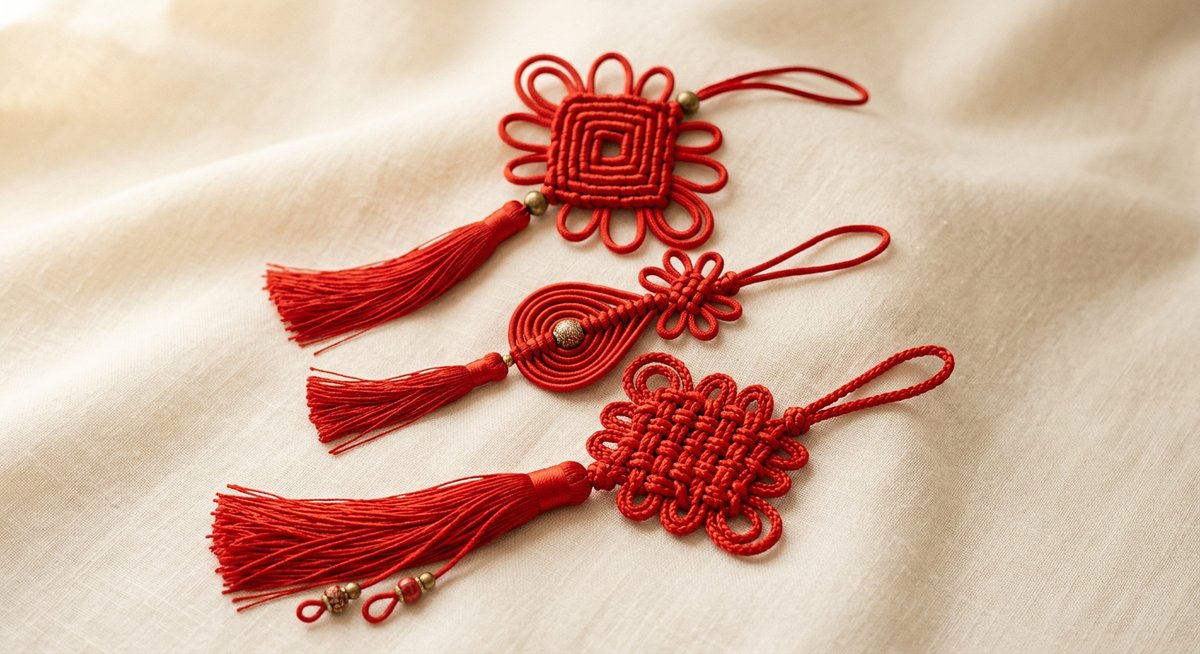
Chinese knotting begins with a small handful of basic knots. Learn these three — the double coin knot, the pipa knot, and the pan chang knot — and you can read most of the knot vocabulary you will see in shops, temples, and festivals. They also form the building blocks of larger compound ornaments.
This guide teaches each knot step by step, in the order most beginners find easiest: the double coin first, then the pipa, then the pan chang. All three are tied from a single continuous cord, and all three reward the same pair of skills — even tension and patient adjusting.
What you need
For all three knots:
- Satin rat-tail cord, also called Chinese knotting cord, 2 to 2.5 millimeters thick
- Scissors
- Clear nail polish or craft glue, to seal cut ends
- For the pan chang knot only: a pinning board (foam board, cork, or thick cardboard) and 8–12 ball-head sewing pins
Red is the traditional color for blessing and joy; gold emphasizes wealth. Satin cord is the modern standard because it slides against itself cleanly — cotton string or yarn will grip and resist adjustment.
Double coin knot
The double coin knot (shuangqian jie, 双钱结) is the friendliest first knot. Its two linked loops look like ancient Chinese coins side by side, so it carries a wish for wealth and prosperity. It needs no board, no pins, and only about 60 centimeters of cord.
What it means
A pair of coins means "good things come in pairs" (hao shi cheng shuang). The old word for coin, quan (泉), sounds like quan (全), "complete," so two coins also wish completeness in fortune and life. The Bank of China logo is built on this same double-coin motif.
Steps
-
Fold the cord in half to find the center. Lay it flat in a loose loop with the two ends pointing downward and the center at the top.
-
Take the left end and pass it over the right end, then under, then over again to form a simple overhand loop on the left side.
-
Take the right end and do the same on the right side, mirroring the first loop.
-
You should now have two side-by-side loops that look like linked rings.
-
Gently pull both ends at the same time while guiding the loops into shape. The knot will tighten into two small coin-shaped loops side by side.
-
Adjust the loops until they are even, and the knot lies flat.
Video: Step-by-step demonstration of tying the double coin knot, via YouTube.
Pipa knot
The pipa knot (pipa jie, 琵琶结) is a decorative button knot. Its coiled disk and short stem resemble the pipa, the pear-shaped Chinese lute, and it is the classic knot used for frog buttons on qipao and traditional jackets. It is tied in the hand, not on a board.
What it means
The name carries a lucky pun: pipa (琵琶, the lute) sounds identical to pipa (枇杷, the loquat), a golden fruit associated with abundance. Tie the knot, and you carry both meanings — music and fruitfulness.
Steps
-
About 10 centimeters from one end, form a small loop roughly 1.5 centimeters across, with the long working cord crossing over the short tail. Pinch the crossing firmly.
-
Bring the working cord down behind the loop and up through its center from back to front, then lay it down the front and around the outside of the loop. You have made the first turn. Snug it gently.
-
Continue winding in the same direction. Each new turn goes down behind the growing coil and up through the center hole, then lies down the front beside the previous turn, never crossing it. After three or four turns you have a small flat coil. While learning, keep a pencil or chopstick in the center hole so it cannot close early.
-
When the coil is the size you want, pass the working end up through the center hole one last time and let it hang on the same side as the short tail. Remove the pencil.
-
Close the knot slowly. Hold the coil flat and pull the short tail a little at a time until the center cinches down, and the turns draw together into a firm disk. Adjust each turn with your fingertips until the spiral ridges run evenly. Leave a short stem above the disk — the pipa's neck.
-
Trim the ends, or leave them long if sewing the knot to a garment. Seal any cut tip with clear nail polish.
Video: Tying the Chinese button knot, the base of the pipa frog button, via YouTube.
From pipa knot to frog button
A frog button has two parts: the button knot on one edge of an opening and a loop on the other. Sew the pipa knot to one side. Then coil one of the remaining cord ends into a flat loop just large enough to grip the knot firmly, and sew its base to the opposite edge. The knot pushes through the loop and holds by friction.
Pan chang (good luck) knot
The pan chang knot (panchang jie, 盘长结) is the square, interlaced knot most English speakers picture when they hear "Chinese knot." It is also called the endless knot, the mystic knot, or — in craft kits — the good luck knot. Its unbroken line symbolizes long life and continuity. This version is the two-return pan chang, the smallest complete form.
What it means
The pan chang's closed, self-returning path stands for infinite wisdom and the endless cycle of life. In Buddhism, it is one of the Eight Auspicious Symbols. In folk custom, it wishes an unbroken bond, which is why it once hung on newlyweds' bedcurtain hooks.
Steps
Set the board in front of you and find the center of a 1.5 to 2 meter cord. The two halves are called L (left) and R (right).
-
Pin the center of the cord near the top center of the board. L and R hang down on either side.
-
With L, make the horizontal lines. Run L to the right as line 1 and pin it at the right edge, leaving a finger-width loop or "ear" outside the pin. Wrap around the pin and run L back to the left as line 2, one cord-width below line 1, pinning at the left edge with another ear.
-
Repeat: run L to the right as line 3 and pin with an ear; run it back to the left as line 4 and let the end hang free at the lower left. You now have four parallel horizontal lines with ears on both sides.
-
With R, begin the vertical lines. Bring R to the top and lead it down through the horizontals, weaving under line 1, over line 2, under line 3, over line 4. Pin at the bottom edge with an ear.
-
Bring R back up one cord-width to the left, weaving the opposite way: under line 4, over line 3, under line 2, over line 1. Pin at the top with an ear.
-
Repeat the pair once more: lead R down like the first vertical, then back up like the second. Let the end hang free at the top.
-
Check the grid. You should see four verticals crossing four horizontals in a perfect checkerboard: along any line the cord alternates over, under, over, under, and neighboring crossings are opposite. Ears stick out on all four sides.
-
Close the knot. Take hold of all ears and both ends and pull gently and evenly outward, as if stretching the knot toward four corners. Remove pins gradually as the grid closes into a compact interlaced square.
Video: Step-by-step demonstration of tying the pan chang / good luck knot, via YouTube.
Three parts tying, seven parts adjusting
Heritage knot artists say the real skill is not the tying but the adjusting. Zhangjiakou craftsman Li Jiayu describes knotting as "three parts tying, seven parts adjusting" (san fen bian, qi fen tiao, 三分编七分调). When the structure is woven, it is still loose and shapeless. What decides the final form is the slow drawing-through of slack.
To dress any knot:
- Choose one end and follow its path into the knot.
- Find the first place with slack and pull a small loop through to the next section.
- Walk the slack forward, section by section, until it exits at the other end or into an ear.
- Repeat from the other end.
- Finish by holding the knot flat and giving all sides an even pull.
Expect dressing to take as long as the tying itself. Rushing this stage is the most common reason a finished knot looks lumpy or uneven.
Project ideas
- Double coin pendant: thread a small double coin onto a cord for a necklace or keychain.
- Pipa frog buttons: sew a row of pipa knots to a handmade jacket or bag.
- Pan chang wall hanging: tie a large pan chang in thick red cord, crown it with a bead, and hang a long tassel below.
- Compound ornament: set a double coin below a pan chang to mean "wealth without end," or add a cloverleaf at the heart of a pan chang for harmony.
For anything that will often be handled, touch a pinpoint of craft glue to the back of the central crossings and seal cut ends with clear nail polish.
Ready to understand what these knots are saying? Read our overview of 5 common Chinese knots and their meanings, then explore the full Chinese knot type and category system or learn how color changes a knot's wish.
Frequently asked questions
Which Chinese knot should a beginner learn first?
The double coin knot. It needs only one short cord, no pinning board, and no special tools. Most beginners tie a recognizable double coin within fifteen minutes, then practice adjusting the loops evenly.
What cord should I buy for Chinese knotting?
Satin rat-tail cord, also sold as Chinese knotting cord, in 2 to 2.5 millimeter thickness. It slides against itself smoothly, which is essential when tightening and adjusting. Red is the traditional starting color; gold emphasizes wealth.
Why does my Chinese knot look loose and messy?
Because it has been tied but not dressed. Chinese artisans say knotting is "three parts tying, seven parts adjusting." After the basic structure is woven, you must walk the slack through the knot section by section until every line lies flat, and the loops are even.
Is the pan chang knot the same as the good luck knot?
In English craft kits, usually yes — the pan chang is often called the good luck knot, endless knot, or mystic knot. Inside the Chinese system there is also a separate ji xiang jie, literally "auspicious knot," which is an open four-eared cross-knot. This tutorial teaches the pan chang, the closed interlaced square.
What is the pipa knot used for?
The pipa knot is a decorative button knot. Its coiled disk and short stem resemble the Chinese lute, and it is the classic knot used for frog buttons on qipao and traditional Chinese jackets.
How much cord do I need?
A double coin knot needs about 60 centimeters. For a pipa knot, allow about 1 meter. A palm-sized two-return pan chang knot requires 1.5 to 2 meters. Extra length makes learning easier.
Author
This article was prepared by the team at ChineseFolkCrafts.com. We are not intangible-cultural-heritage inheritors or museum researchers. Our job is to find authoritative Chinese sources, understand them, and explain them clearly for international readers.
If you spot an error — a date, a translation, a misattributed custom — please let us know and we will correct it. Last updated 2026-07-25.