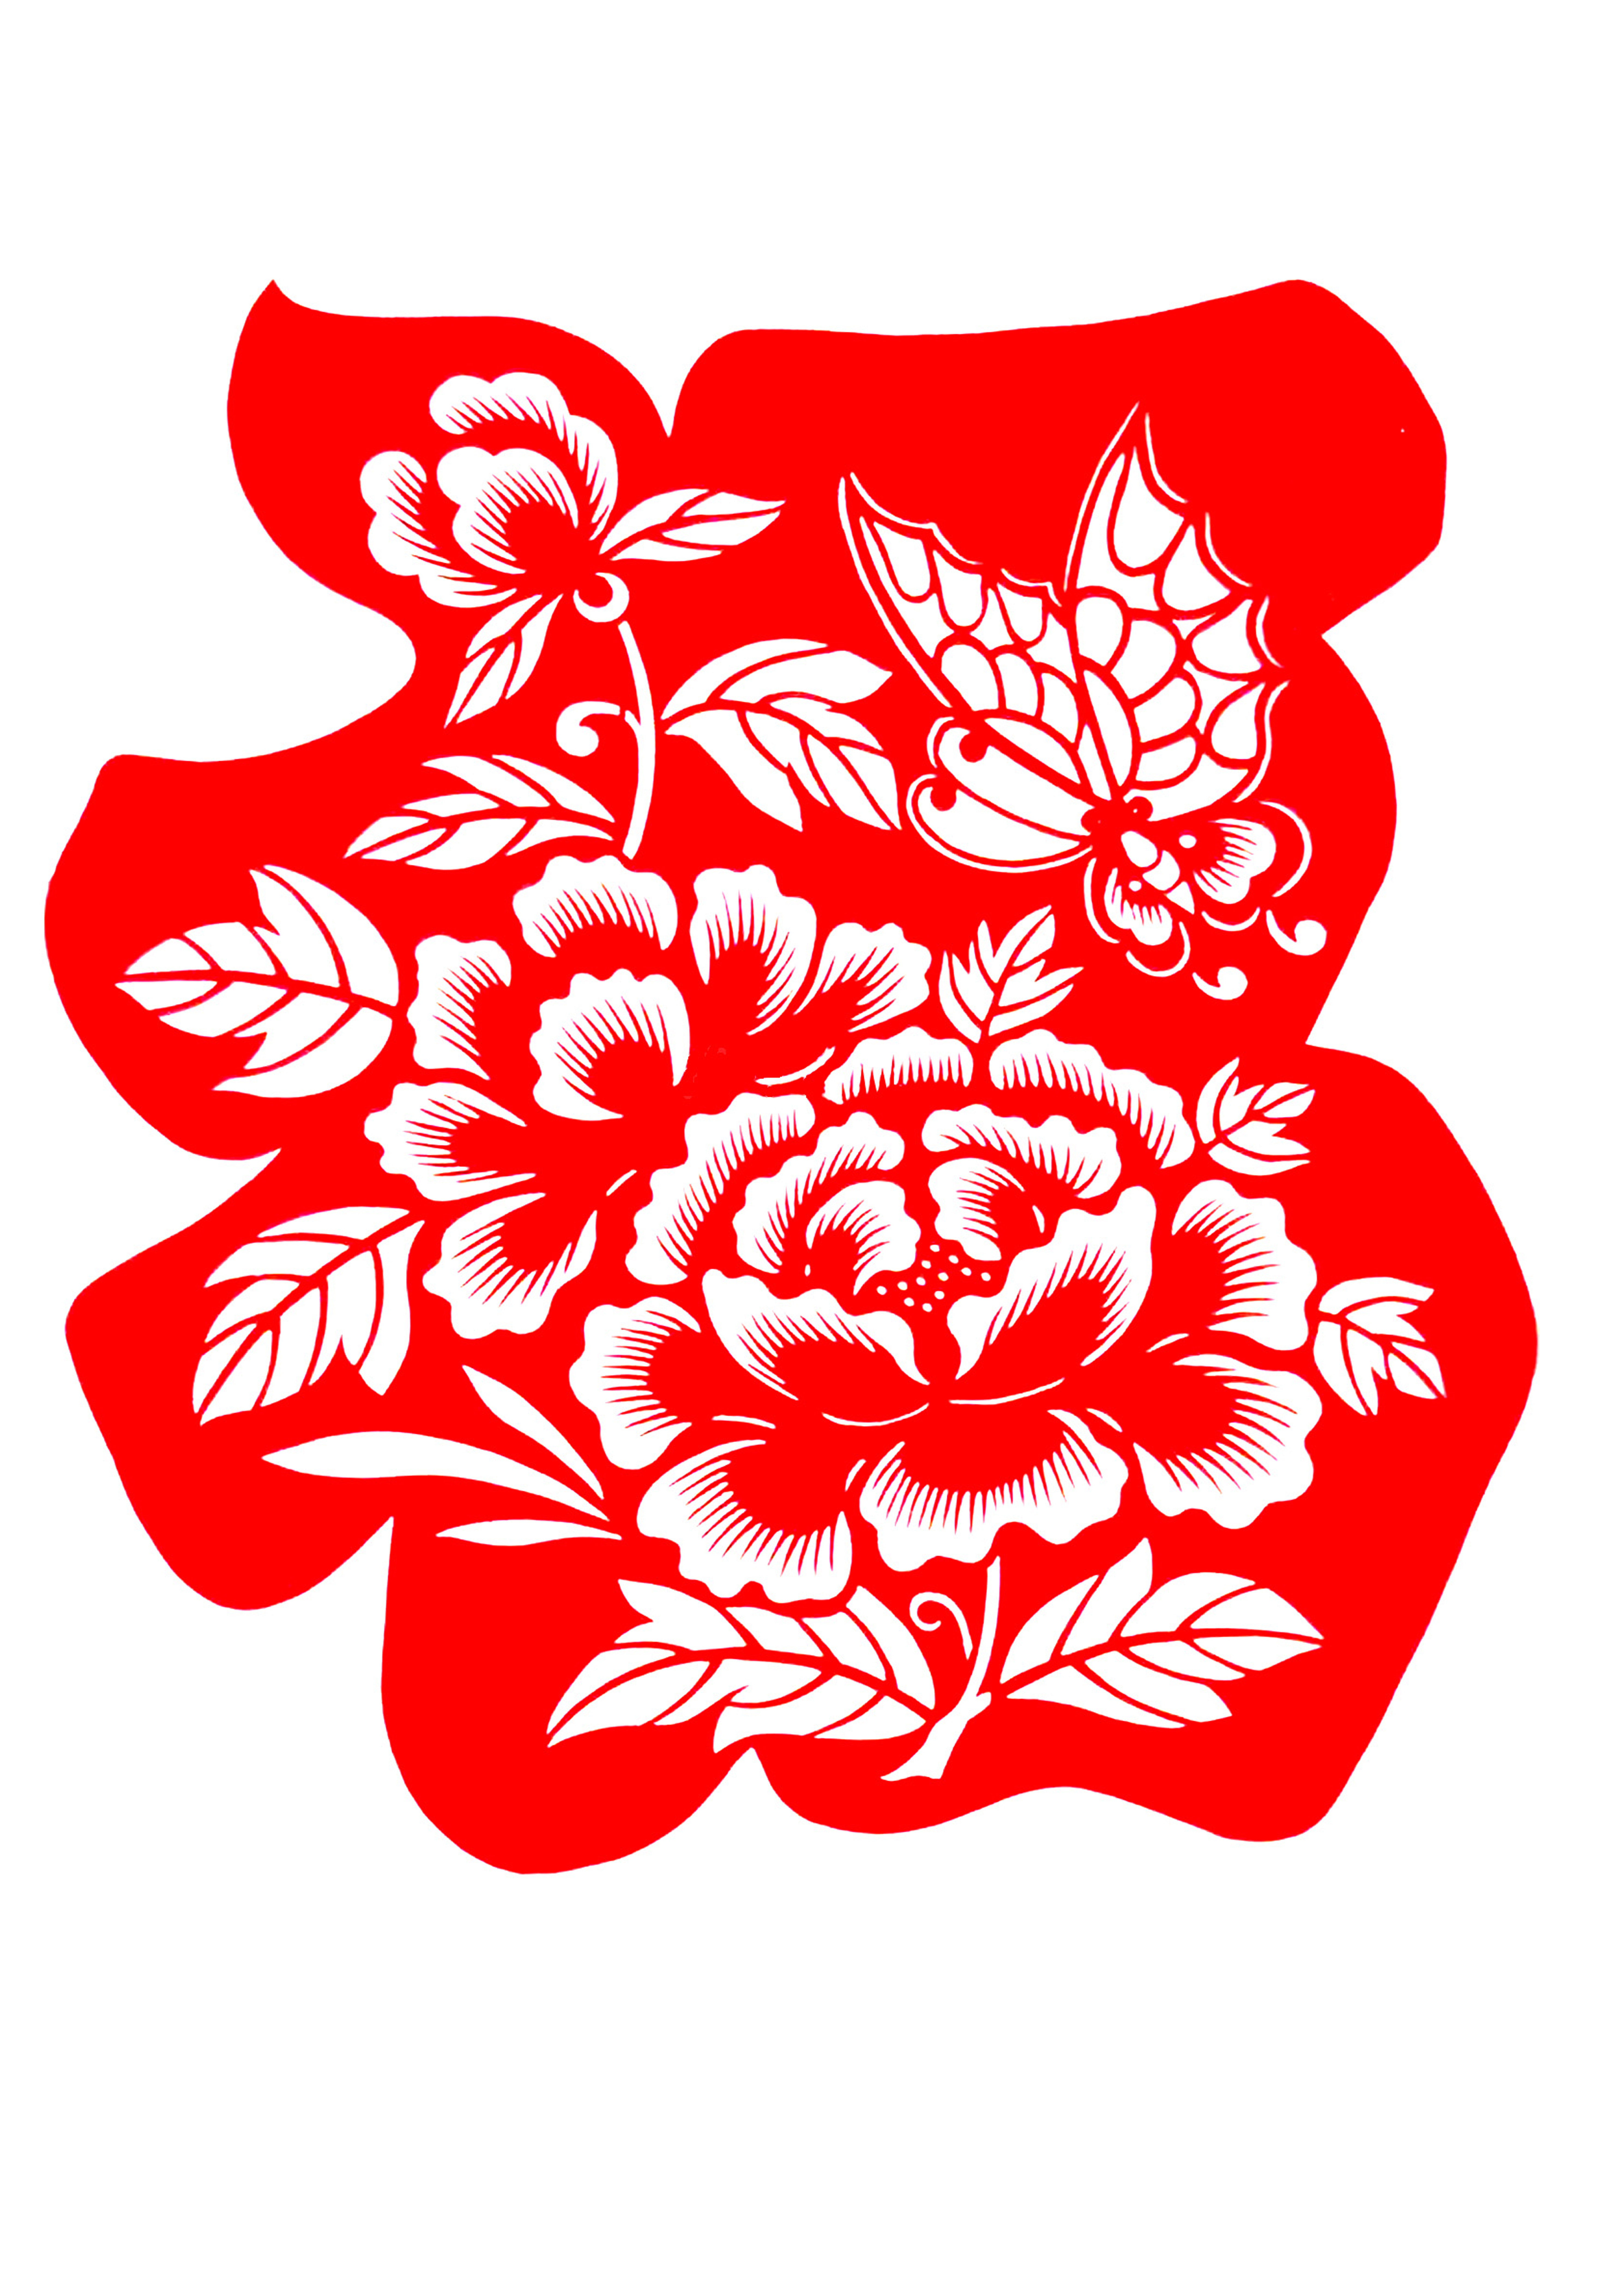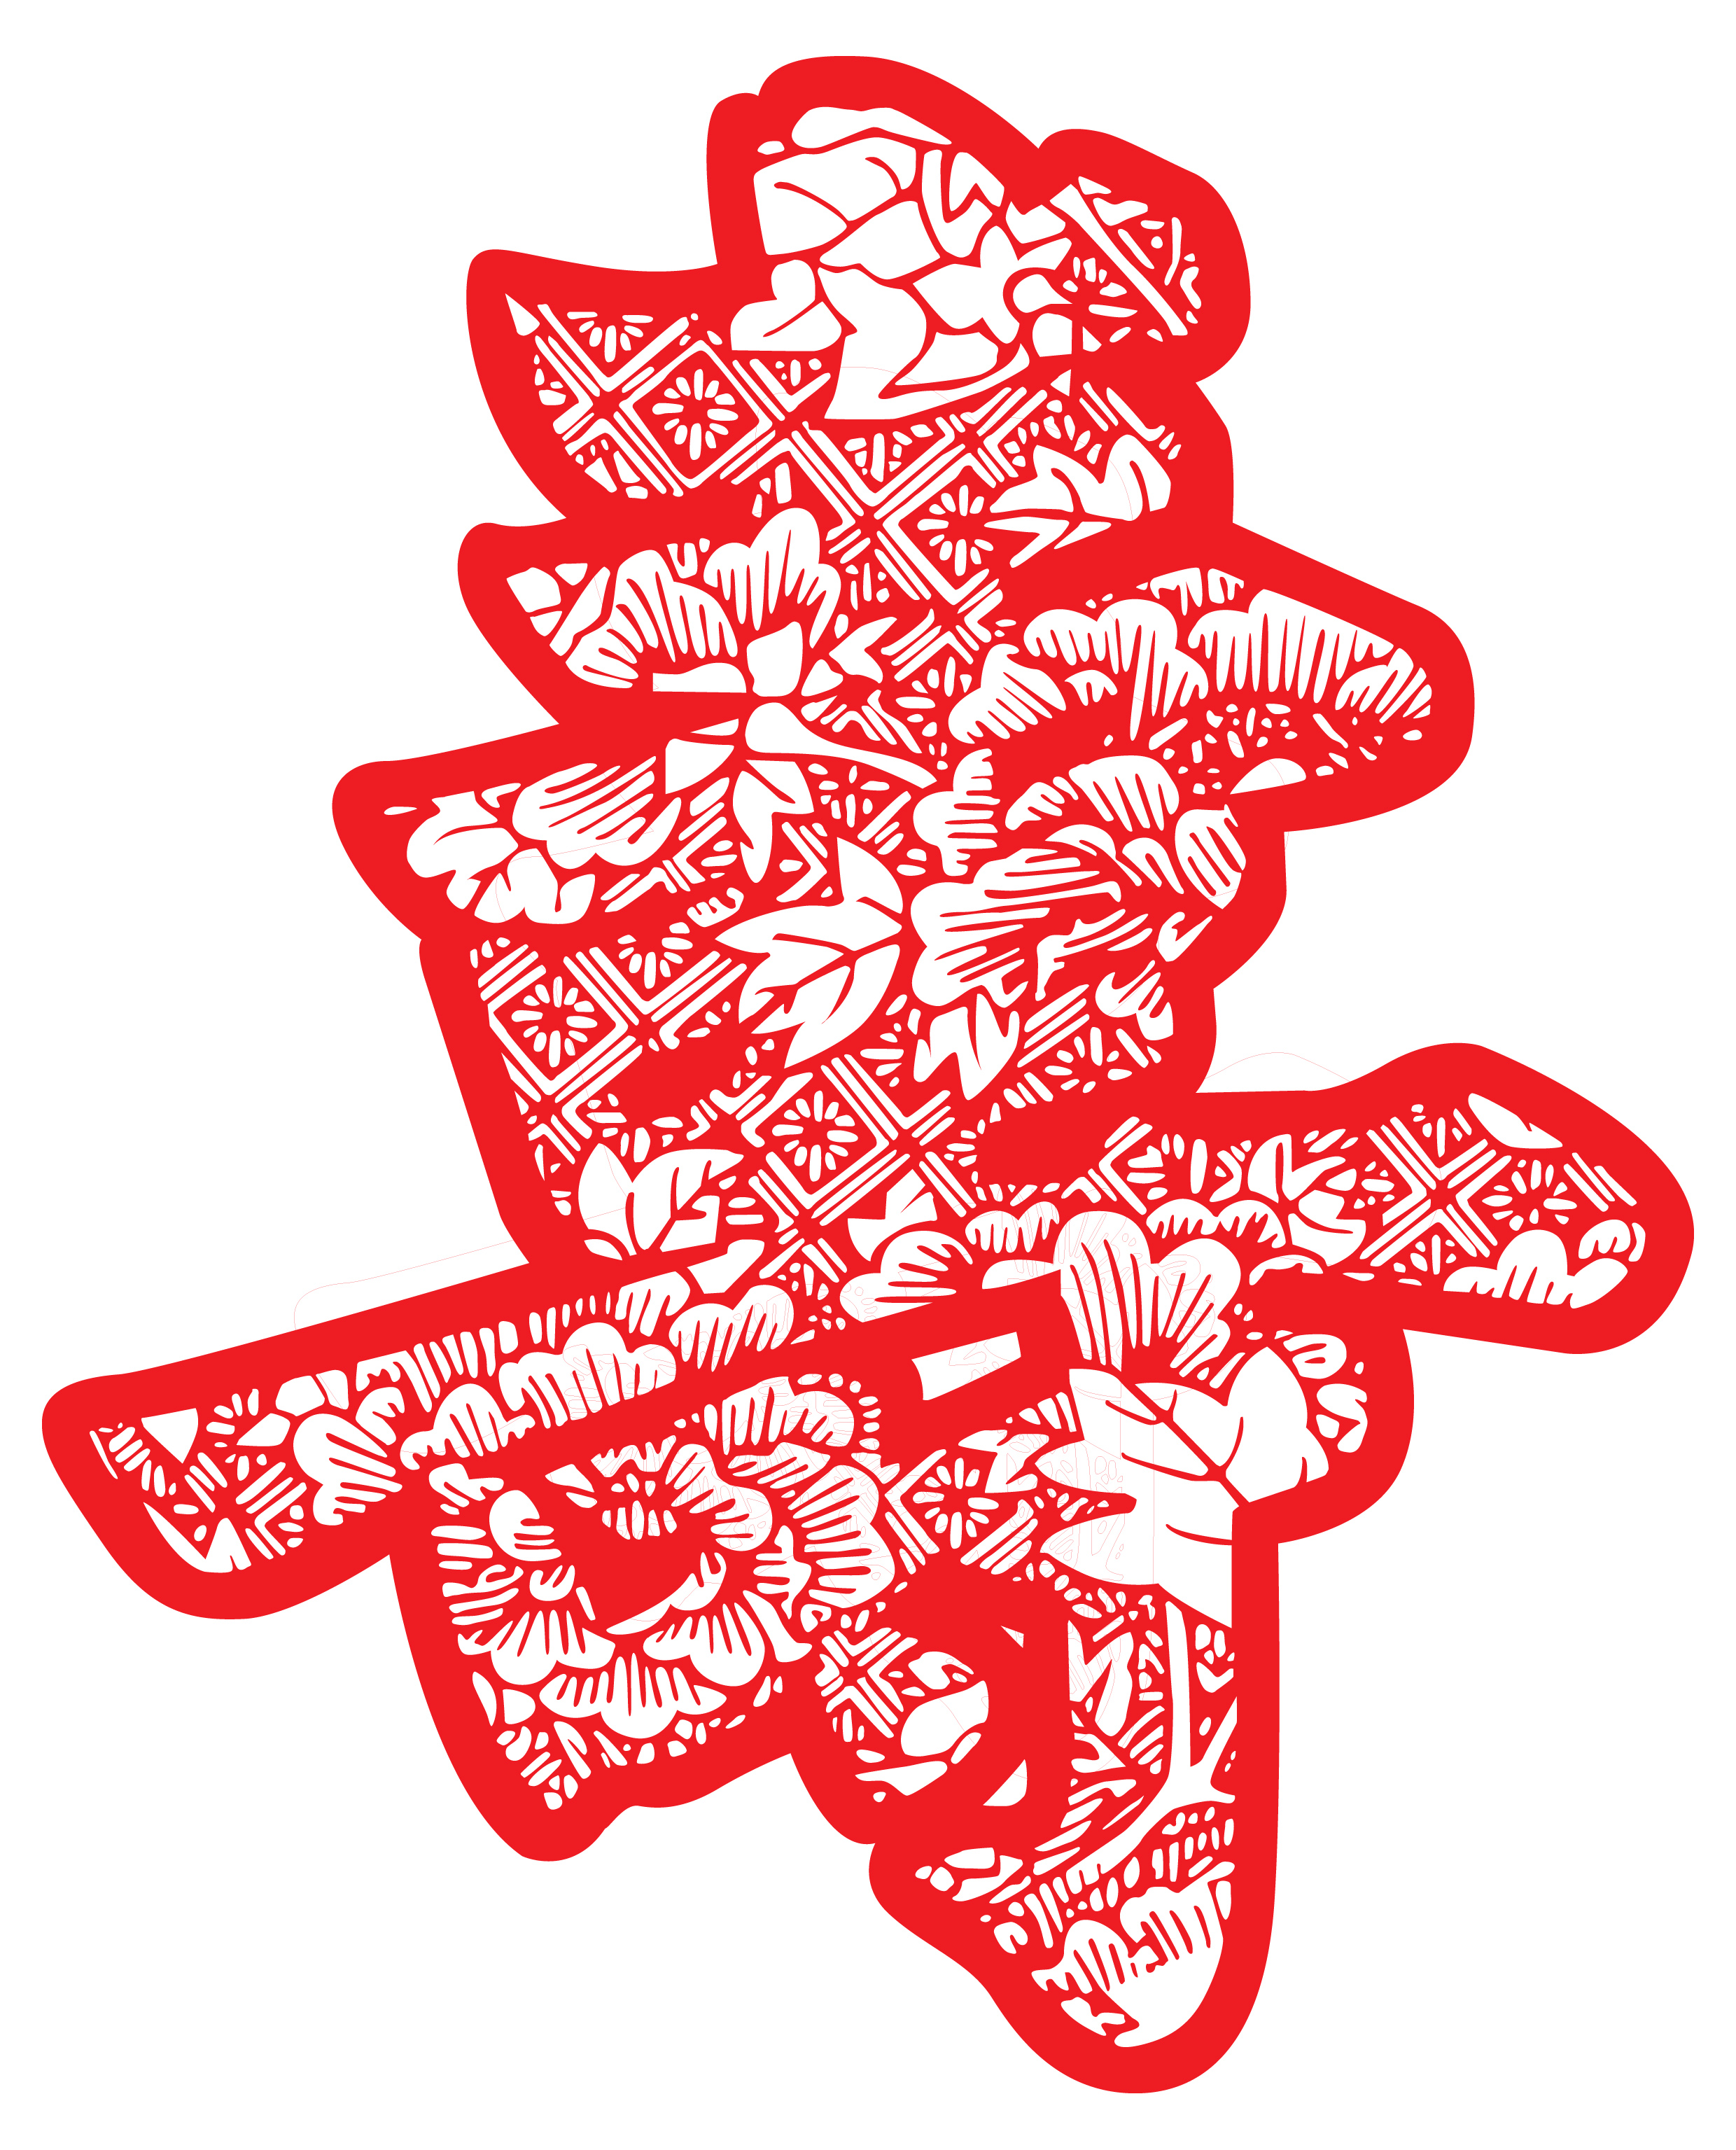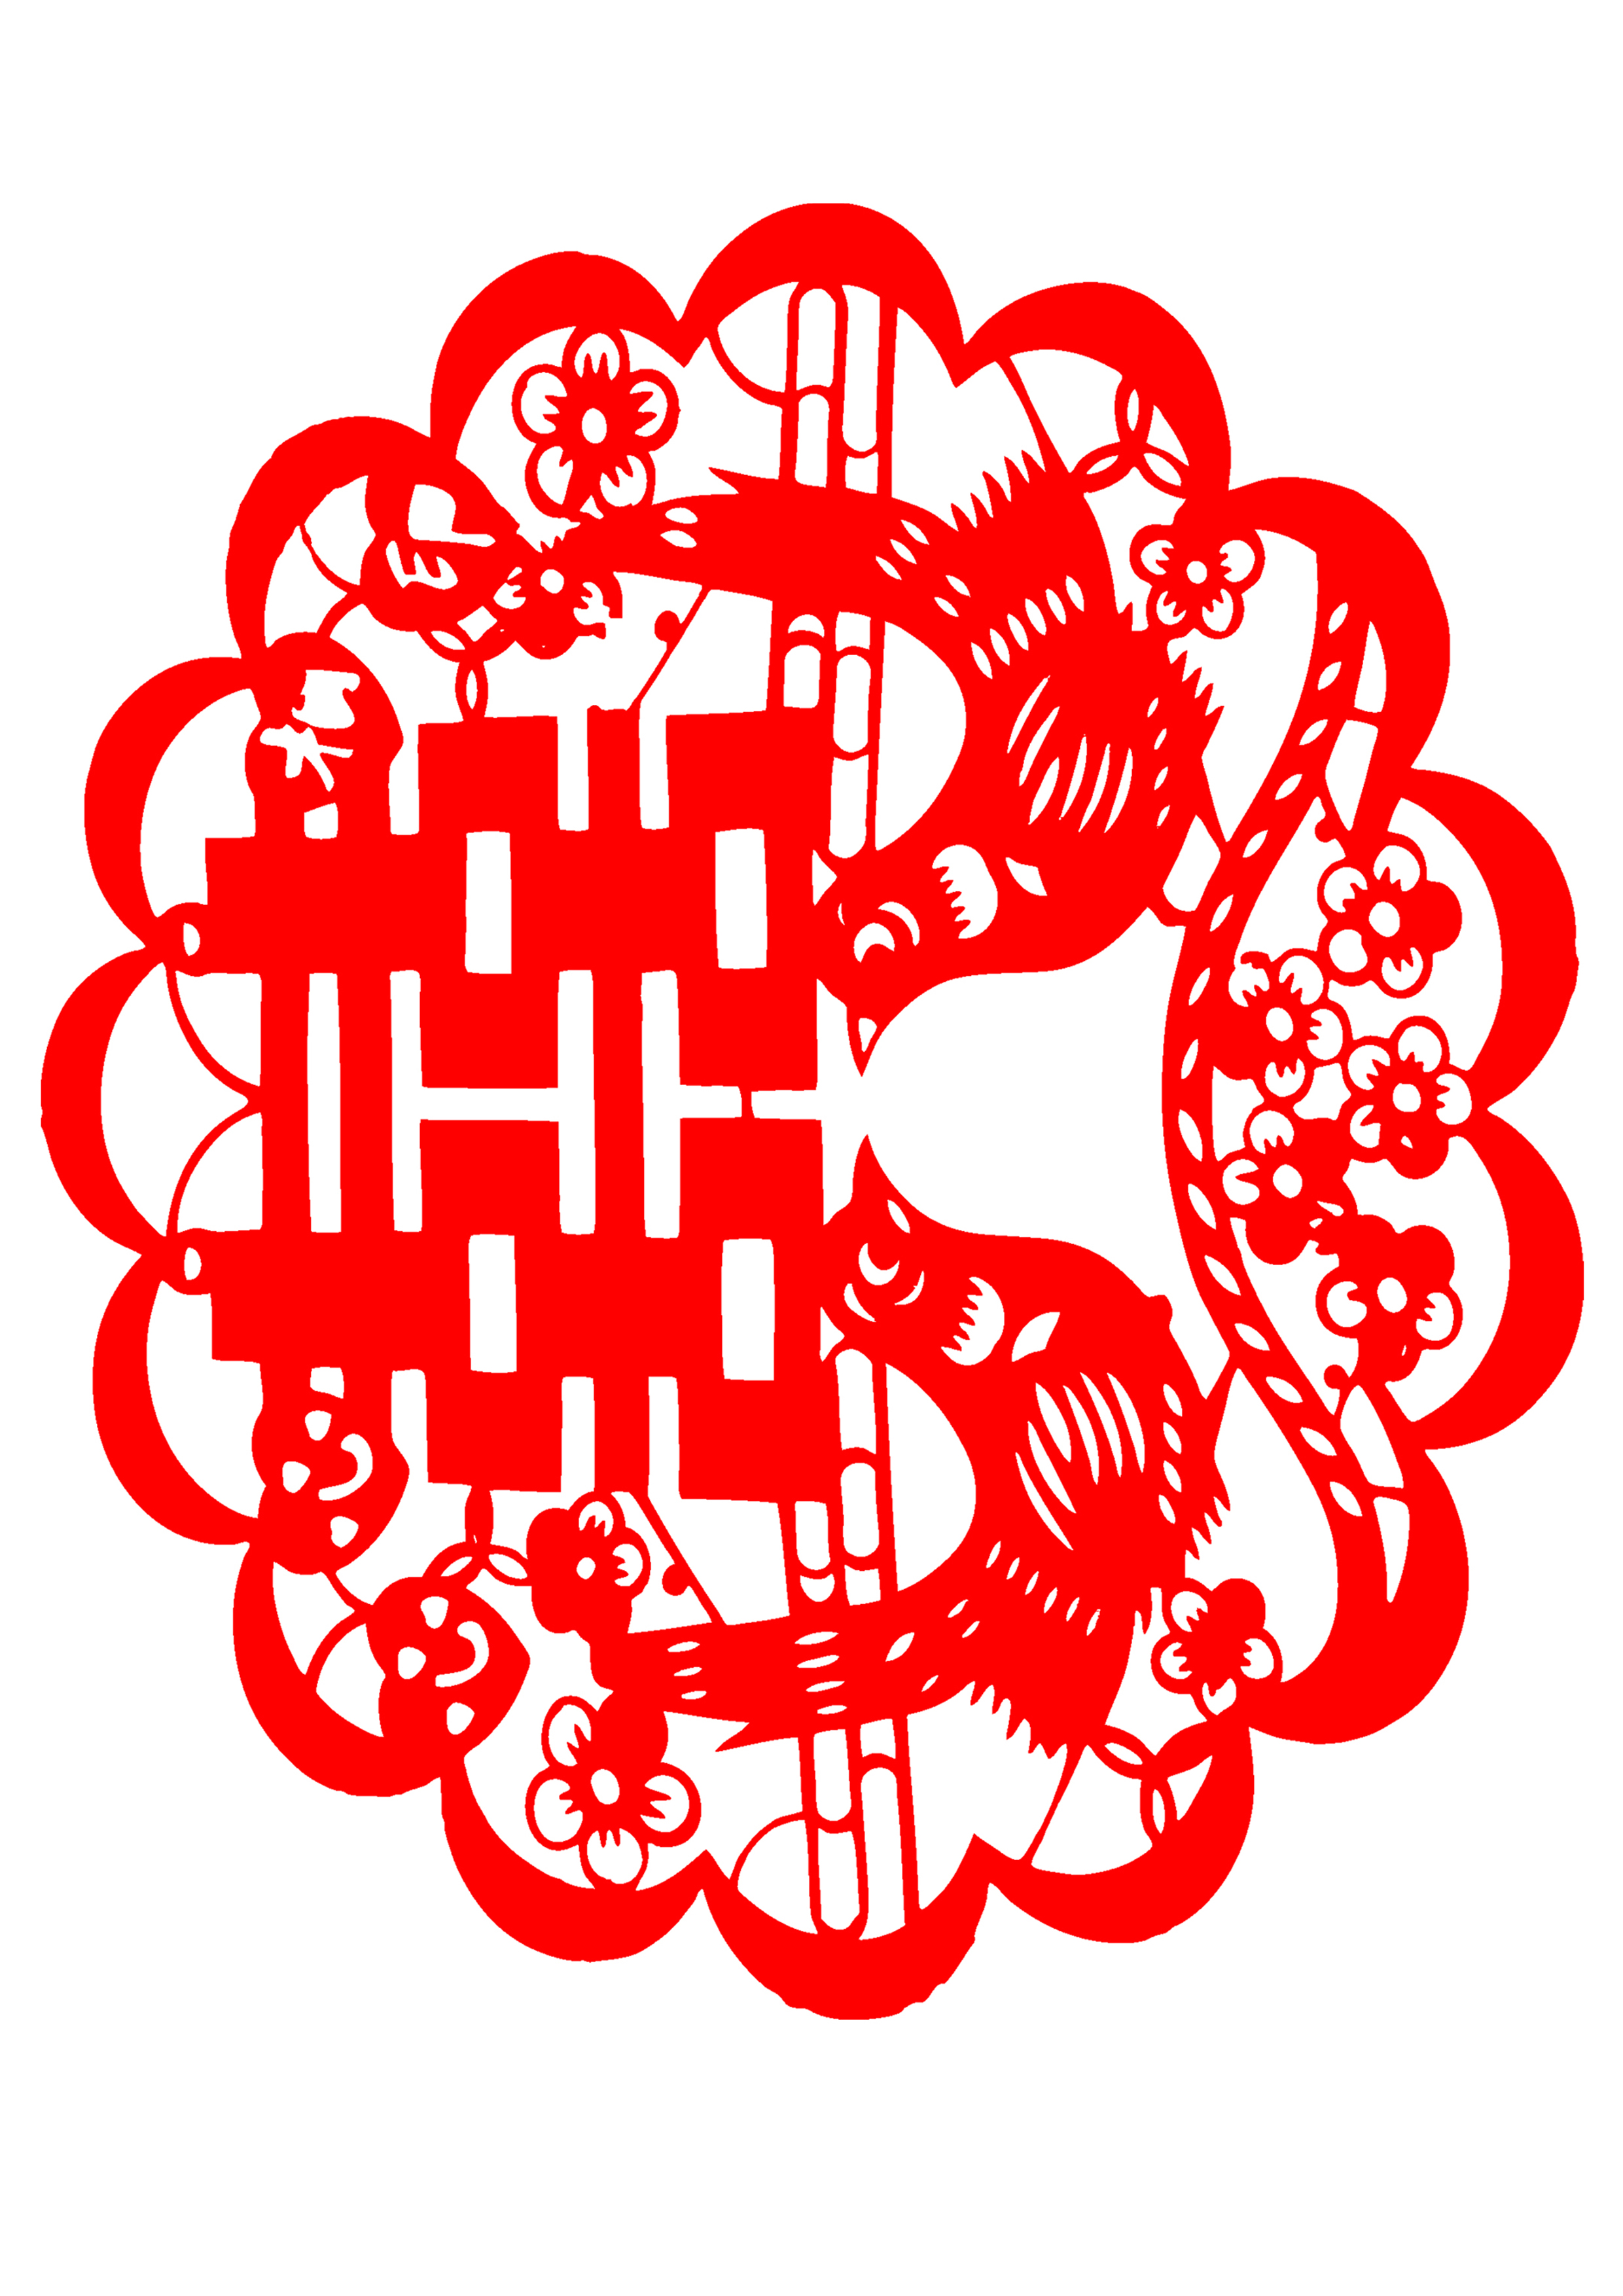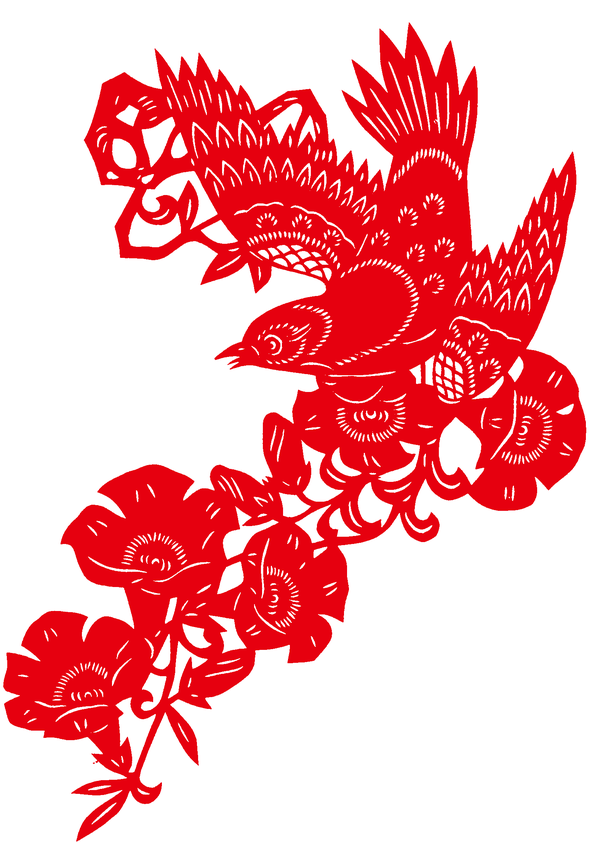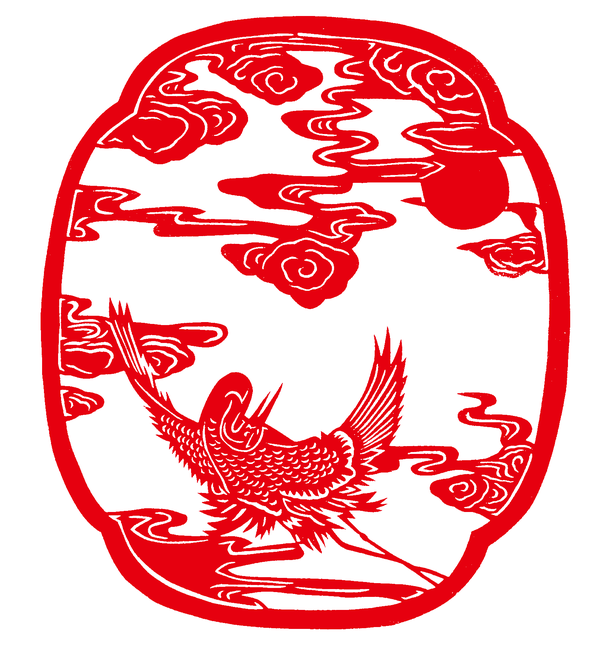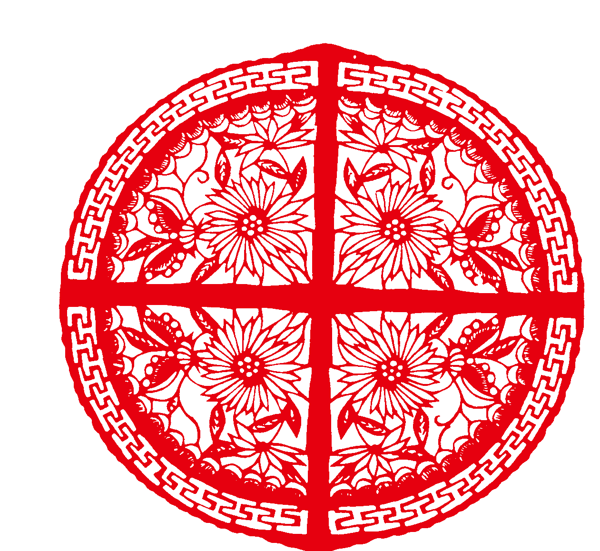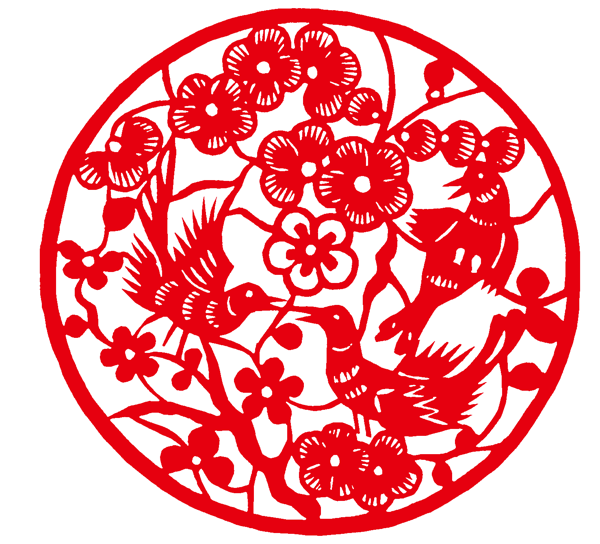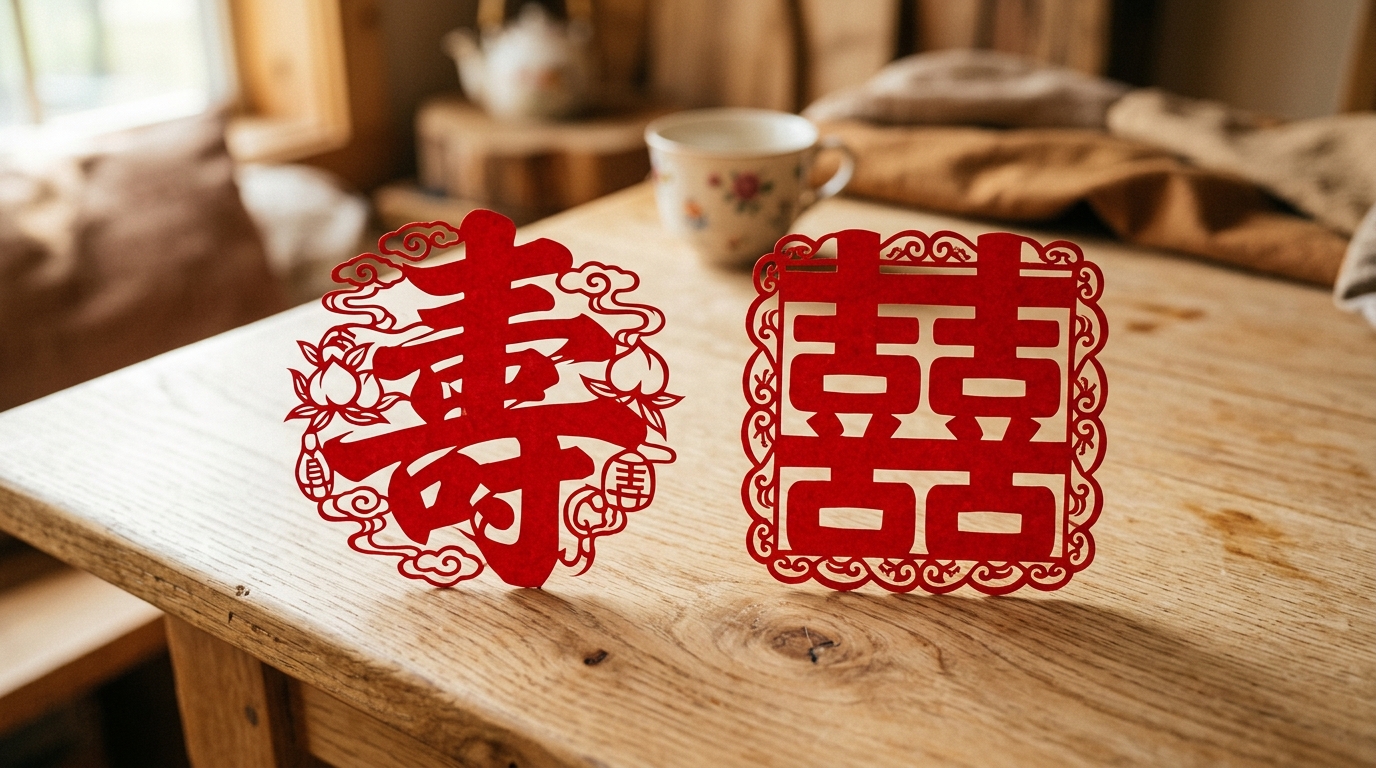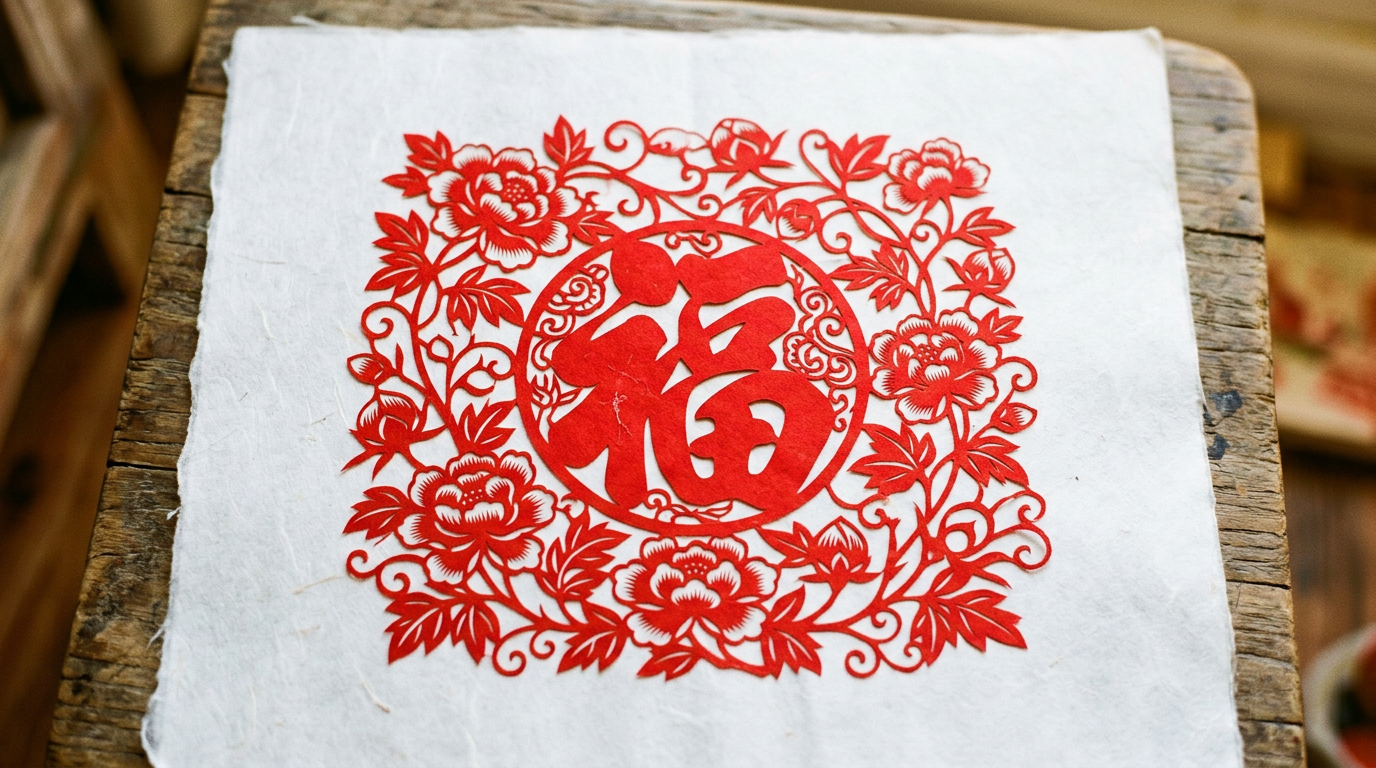
If you can fold a paper snowflake, you can already do Chinese paper cutting. The oldest and most forgiving way into jianzhi (剪纸) is the fold-and-cut template: a printed pattern you trace onto folded paper, cut along the lines, and unfold to reveal a symmetrical design you could never have drawn freehand.
This page gives you five original, free printable templates — a butterfly, a fish, a plum blossom, the double happiness character, and a spring floral medallion — each designed by us specifically for beginners, children, and classrooms. Download the SVG files, print them on ordinary A4 or Letter paper, and you can be holding your first finished paper cut within half an hour. No drawing skill is required, because the fold does the symmetry for you.
If you are brand new to the craft, our step-by-step guide to making your first Chinese paper cut explains the underlying technique; this article is the companion that hands you ready-made patterns to practice on.
What is a fold-and-cut template?
A fold-and-cut template is a map of a paper cutting drawn in its folded state. Traditional Chinese cutters rarely draw the full, opened design. Instead, they fold the paper — in half, in quarters, or into a wedge of five or eight — sketch half (or one slice) of the motif on the folded packet, and cut through all the layers at once. When the packet is opened, every cut has been mirrored and repeated by the folds. A single snip on the fold becomes a perfect pair of shapes; one curved cut across a folded wedge becomes a ring of petals.
This is why templates are the easiest entry into the art. Drawing a symmetrical butterfly or a balanced 囍 character by hand takes practice; drawing half of one on folded paper takes minutes, and even that half is already drawn for you on a printable template. You are doing the authentic technique — the same one used for the sixth-century medallions unearthed at Turfan, described in our history of Chinese paper cutting — just with the sketching step done for you.
Each template below uses three kinds of lines:
- Thick solid lines — cut. Follow these with your scissors and remove the pieces they enclose.
- Thin solid lines — the edge of the folded paper. Do not cut along these; they only show you the shape your folded paper should be.
- Dashed lines — fold. These mark where the paper is folded. Never cut a dashed line.
One rule matters more than any other: everything in a paper cut must stay connected. The templates are drawn so the remaining paper always holds together as one piece — as long as you cut only the solid lines, your design cannot fall apart.
How to print, fold, and cut
- Print the template at 100% scale ("actual size") on A4 or US Letter paper. Any home printer works; the templates are black on white to save ink.
- Prepare your red paper. Thin paper, 60–80 gsm, cuts cleanly through folded layers — origami paper, thin craft paper, or proper Chinese red paper all work. Copy paper is acceptable for a first try. Cut a piece roughly the size of the folded-paper outline shown on the template.
- Fold the red paper exactly as the template section instructs: once in half for the butterfly, fish, and double happiness; into a five-part wedge for the plum blossom; into an eight-part wedge for the spring medallion. Crease firmly — crisp folds mean clean symmetry.
- Transfer the pattern. Place the printed template under your folded paper and trace the solid lines with a pencil, or staple/paper-clip the printed sheet on top of the folded red paper and cut straight through both (then the printed sheet is your practice copy). Hold the packet so the dashed fold edge of the pattern sits exactly on the fold of your paper.
- Cut the small interior shapes first, while the packet is still strong, then cut the outline. Turn the paper, not the scissors, and work slowly — you cannot erase a cut.
- Unfold gently. Open the piece flat on the table, layer by layer. Thin paper tears at the creases if you pull.
Safety notes for kids and classrooms. Use child-safe scissors with rounded tips for young children; sharp pointed scissors should be adult-only. Cut through no more layers than the scissors can take comfortably — two layers of copy paper is plenty for small hands, and forcing thick stacks is how blades slip. Interior holes can be started by an adult with a craft knife, or by folding the paper slightly and nicking the center with scissors. Keep the cutting hand still and move the paper, and always cut on a table, never in the air above a lap.
Template 1: Butterfly (蝴蝶)

- Symbolism: The butterfly (hudie) is a classic emblem of joy, love, and long life — its name puns with a word for "eighty years of age," so butterflies appear on birthday and wedding decorations as a wish for a long, happy life together.
- Difficulty: Easy. One fold, one outline, a few interior holes.
- Folding: Fold your red paper once, in half. Place the fold on the dashed line at the left edge of the template. The body of the butterfly lies exactly on the fold; the wings, dots, and crescent are cut through both layers.
- Tip: Cut the wing dots first, then the teardrop and crescent, then the wing outlines, then the antenna and body last — the body on the fold is what holds everything together.
Download the butterfly template (SVG)
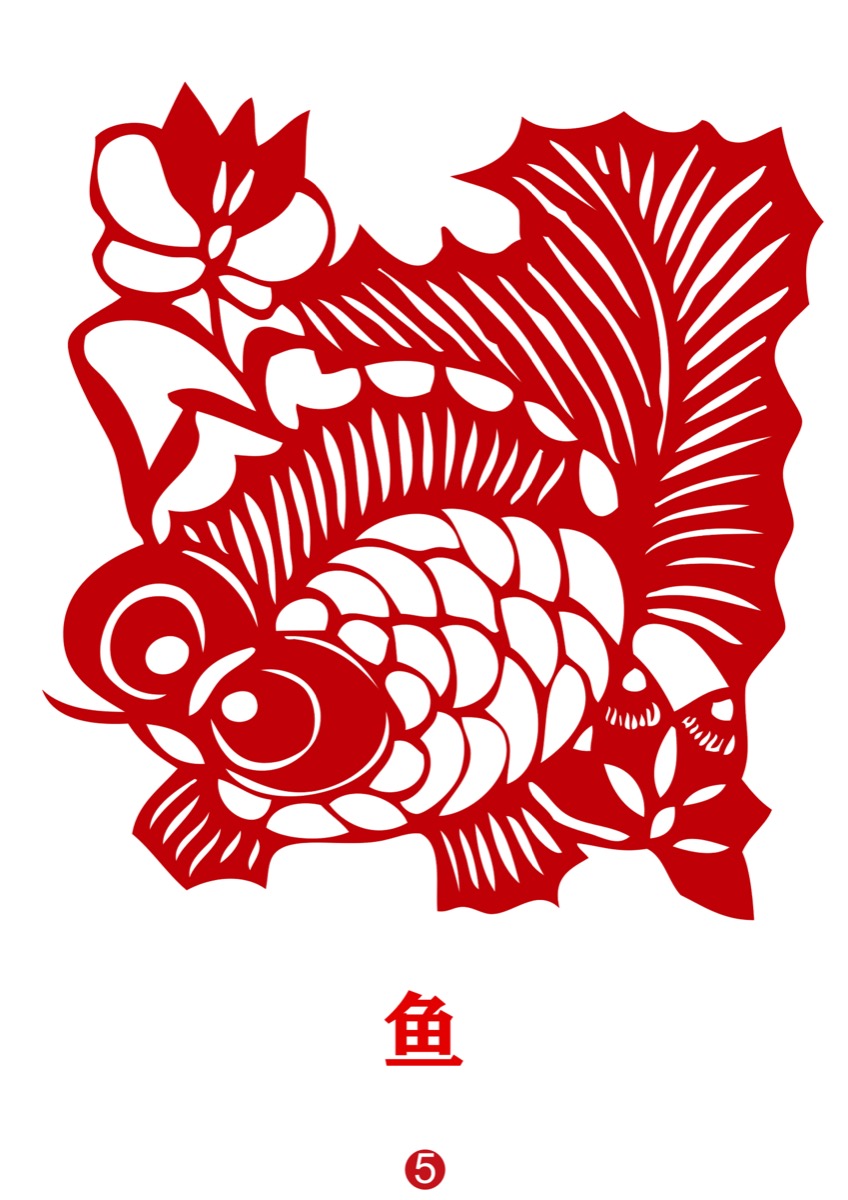
Template 2: Fish (鱼)

- Symbolism: Fish (yu) pun with "surplus," so a fish cut says nian nian you yu — may every year bring more than enough. Red fish on windows are a New Year staple across northern China. You can read more about this and other rebus motifs in our guide to eight auspicious symbols in Chinese paper cutting.
- Difficulty: Easy. One fold; the only care needed is the zigzag of the tail.
- Folding: Fold your paper once, in half horizontally. Lay the fold on the dashed line at the top of the template — the fish's spine runs along the fold, with the body hanging below it. The eye is a half-circle on the fold and opens into a full circle; the scale crescents and gill are simple curved slits.
- Tip: Cut the tail zigzag with small, deliberate turns of the paper, and cut the mouth notch and eye while the packet is still flat and strong.
Download the fish template (SVG)
Template 3: Plum Blossom (梅花)

- Symbolism: The plum blossom flowers in late winter, before any other bloom, so it stands for resilience, hope, and the coming of spring. Its five petals are also read as five blessings: longevity, wealth, health, virtue, and a peaceful end.
- Difficulty: Medium — the cutting is easy, but the five-fold wedge takes a moment to learn.
- Folding: Fold a square of red paper in half. Then fold the resulting rectangle into five equal sectors, like dividing a pie into five — fold one edge over at about a fifth of the half-circle, then accordion the rest, and trim the top to match the wedge shape shown. You should end with a narrow wedge of ten layers. Lay the two dashed edges of the template on the two folded edges of your wedge.
- Cutting: One confident curve across the top of the wedge makes all five petals at once — the petal tip sits on one fold edge, the notch between petals on the other. The small arc near the point becomes the flower's center hole, and the half-dot on the fold edge becomes a decorative dot near each petal tip.
- Tip: Ten layers is a lot — use thin paper and sharp scissors, and cut the petal arc in several small bites rather than one long push.
Download the plum blossom template (SVG)
Template 4: Double Happiness (囍)

- Symbolism: The doubled xi character means double happiness — joy for two — and it is the wedding symbol of China, pasted on doors, mirrors, windows, and gift boxes at every traditional wedding. Cutting one yourself is the single most iconic project in the whole craft.
- Difficulty: Medium. Only one fold, but many straight interior cuts; accuracy matters more than here than curve skills.
- Folding: Fold your paper once, in half. Place the fold on the dashed line at the left edge of the template. The template shows one half of 囍 — which is simply one 喜 ("happiness") — and the fold mirrors it into the doubled character.
- Cutting: This template works in reverse: cut out every outlined rectangle and remove it. The rectangles touching the outer edges can be entered from the edge; the three interior rectangles must be nicked first. The paper that remains is the character. Keep your cuts straight and square — the beauty of 囍 is its geometry.
- Tip: All strokes are connected through the spine on the fold, so as long as you remove only the outlined blocks, the character will hold together perfectly.
Download the double happiness template (SVG)
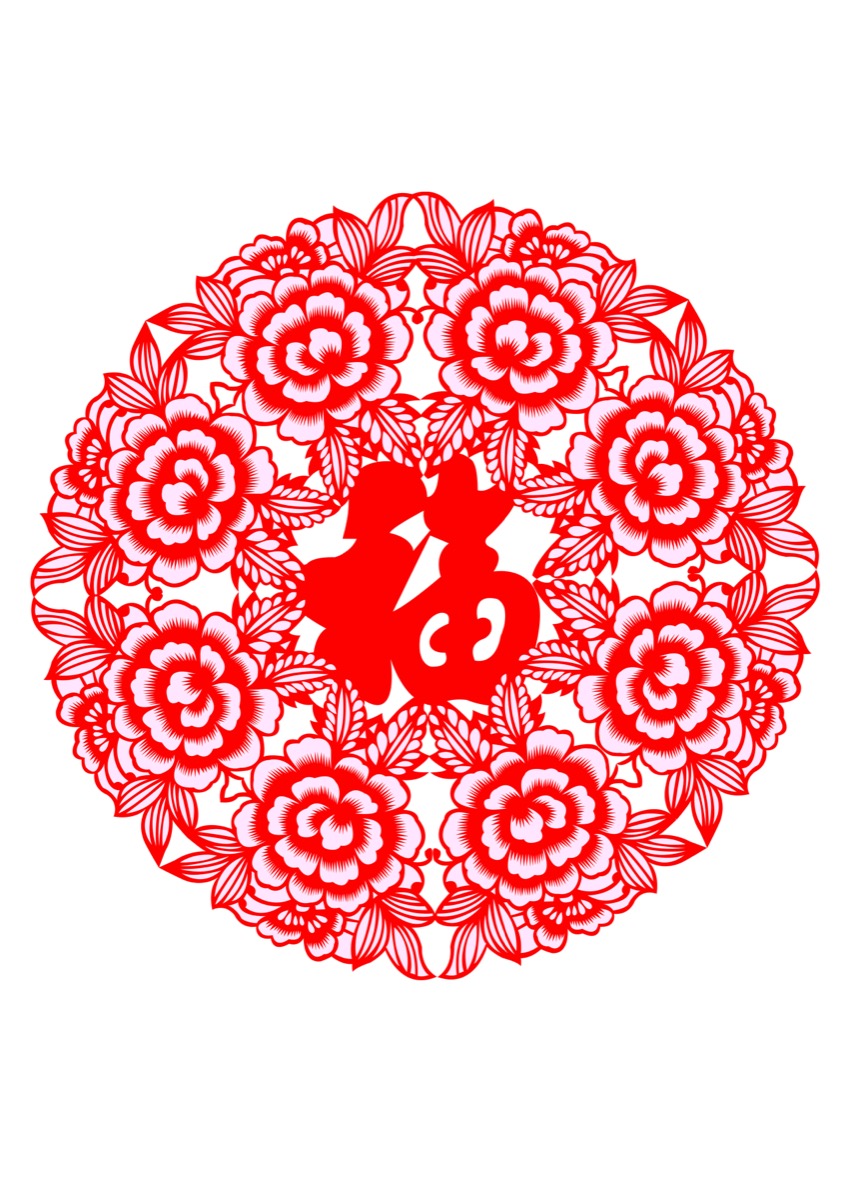
Template 5: Spring Floral Medallion (春花)

- Symbolism: Round medallions (tuan hua, "clustered flowers") are cut for New Year windows to welcome spring — chun (春). This original design borrows the spirit of the character: a small sun above two rays of light, and a sprig with two young leaves below, ringed by an eight-petal rosette — new growth under the returning sun.
- Difficulty: Medium-hard. The eight-fold wedge is easy; the interior details reward a steady hand. Younger children can cut just the rim, edge diamonds, and center notch and still get a lovely rosette.
- Folding: Fold a square in half, then in half again, then a third time, always through the same corner, to make a wedge of eight layers. Match the wedge to the template's dashed edges.
- Cutting: The rim arc sets the outer flower; the half-diamonds on the fold edges open into a ring of full diamonds; the notch at the point becomes the center. Then cut the sun, the two light slits, the stem, and the two leaves.
- Tip: With eight layers, cut interior shapes with the very tips of your scissors, and take the rim arc in several passes if the packet resists.
Download the spring medallion template (SVG)
What to do with your finished cuts
The traditional answer is the window: paste your cut — a dab of glue stick at the center is enough — against the glass so daylight shines through the openwork. A row of red fish or plum blossoms on a January window is still how much of northern China dresses for the New Year. Beyond the window:
- Greeting cards: mount a cut on white or cream card stock; the contrast shows off the silhouette, and a handmade double happiness is a genuinely meaningful wedding card.
- Gift wrap and tags: a small butterfly or medallion turns plain kraft paper into a present nobody wants to unwrap.
- Classroom displays: a whole class's medallions pasted on a black or deep blue bulletin board looks spectacular, and the project pairs naturally with lessons on symmetry in math or on Chinese festivals.
- Garlands: string butterflies or plum blossoms on thread across a doorway or a party table.
- Framed art: a single well-cut medallion floated on white card in a cheap frame is honest wall art.
- Laminated keepsakes: laminating pouches protect delicate cuts for bookmarks and reusable decorations.
Keep leftover pieces flat between sheets of paper in a book — cut edges crease easily, and your first attempts are worth keeping. When you outgrow templates, the natural next step is drawing your own half-designs on folded paper; the principles in our first paper cut tutorial — connectedness, yin and yang cuts, fold geometry — are everything you need.
Frequently asked questions
What paper should I use with these templates?
Thin paper, 60–80 gsm, because you cut through several folded layers at once. Origami paper and thin colored craft paper are ideal and cheap; traditional Chinese red paper colored on one side is best if you can find it. Ordinary 80 gsm copy paper works for the single-fold templates (butterfly, fish, double happiness); for the wedge templates, thinner paper makes a real difference. Avoid cardstock.
What scissors are best?
Small, sharp scissors with pointed tips — nail-scissor size up to small embroidery scissors — because you steer with the paper and nibble out small shapes with the blade tips. For children, child-safe scissors with rounded tips are fine on thin paper; just cut fewer layers at once. Adults who want the interior dots and slits extra clean can start them with a craft knife on a cutting mat.
Can kids do these paper cutting templates?
Yes — the butterfly and fish are suitable for children about six and up with child-safe scissors and light supervision, and the medallion's outer rosette alone is a good young-child project. Reserve the plum blossom's ten-layer wedge, the double happiness interior rectangles, and all craft-knife work for older children and adults. Fold-and-cut medallions are a standard school project in China, so you are in good company.
Can I sell crafts made from these templates?
Yes. The templates are free for personal and classroom use, and you are welcome to sell finished pieces you cut yourself from them — at school fairs, craft markets, or online. What you may not do is redistribute or sell the template files themselves. If you share them, please link back to this page so others can download the originals.
How do I design my own paper cutting template?
Start from the fold: decide the symmetry first (half, quarter, five, or eight), fold scrap paper, and draw just one folded slice, keeping every shape connected to the fold or to a neighbor. Cut it in cheap paper, open it, and see what the fold did — that feedback loop is how folk cutters actually design. Favor bold, simple shapes, leave bridges between parts, and put details on the fold edges where mirroring makes them beautiful. When a design works, trace the folded slice neatly and you have made a template of your own.
Author
This article was written by the ChineseFolkCrafts.com team, a folk-craft enthusiast based in Beijing, China. Last updated 2026-07-17.